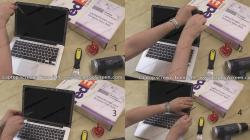
This is a general LCD replacement tutorial made by LaptopScreen.com. Not your specific model? Click here to search our video library for a model specific guide.
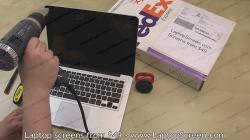
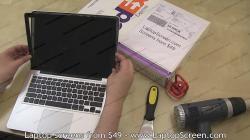
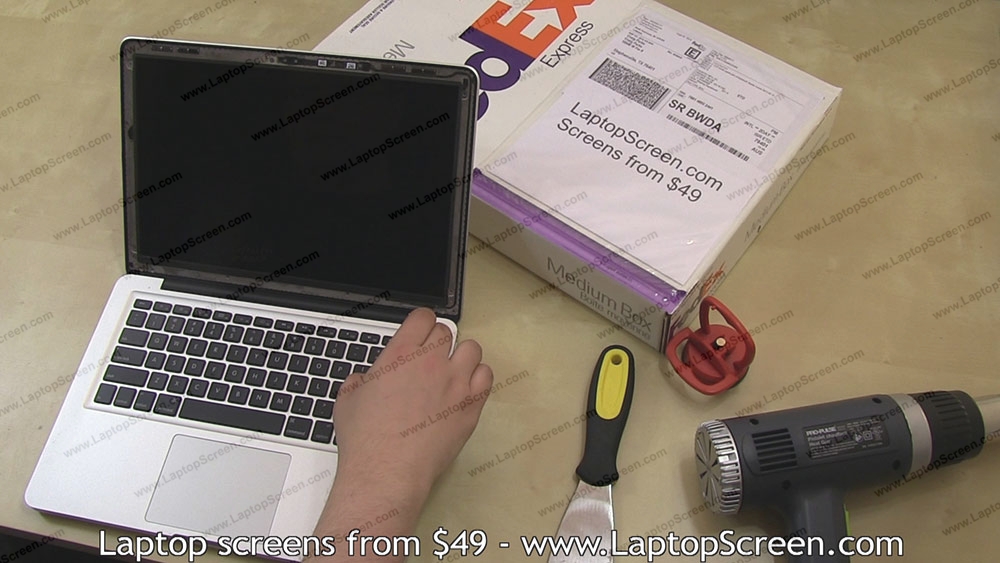
This is a guide on replacing an LCD screen on an Apple MacBook Pro 13".
As the battery for this laptop is not easily removable, you will need to make sure that the laptop is not accidentally powered on during the disassembly and installation process.

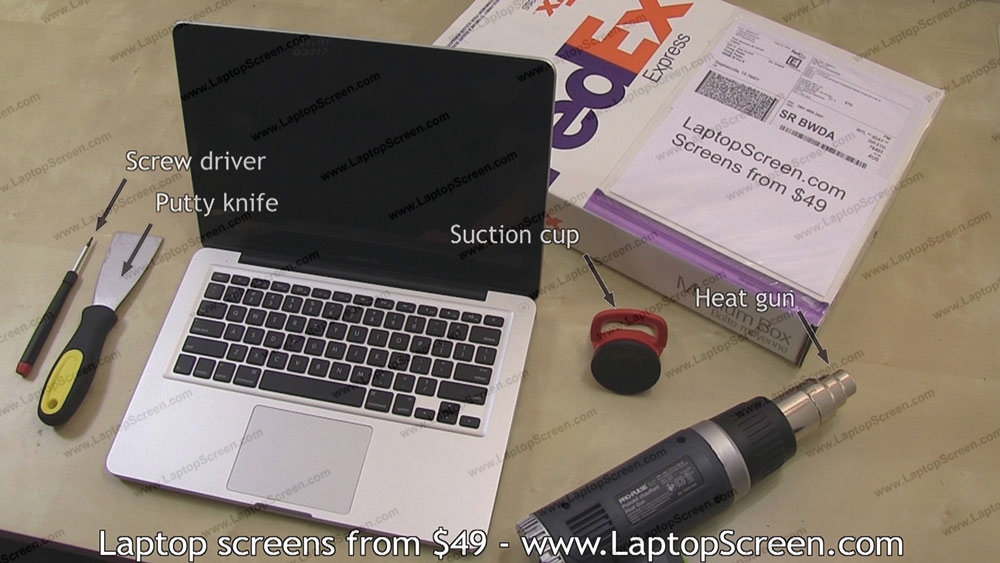
1. Tools you will need to for installing an LCD screen on a MacBook Pro 13":
-flat-head screwdriver
-philips screwdriver
-wide, flat tool such as a putty knife
-heat gun
-suction cup

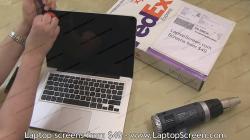
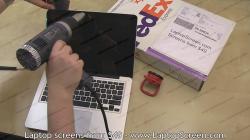
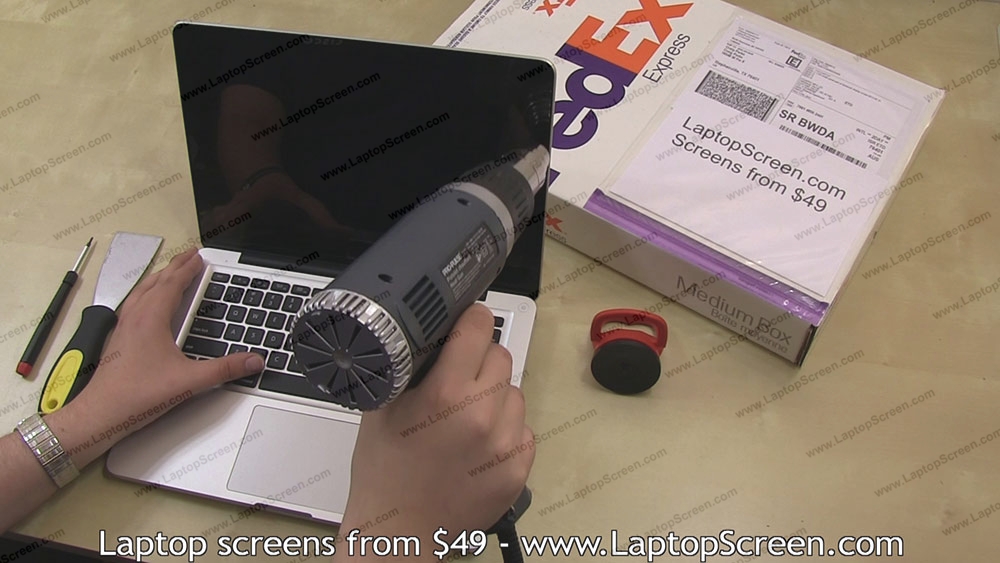
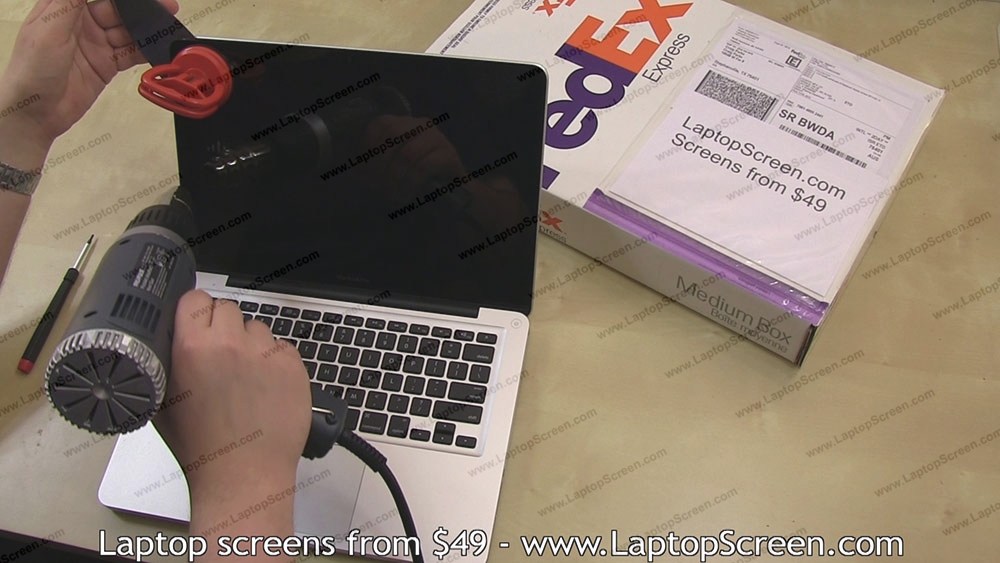
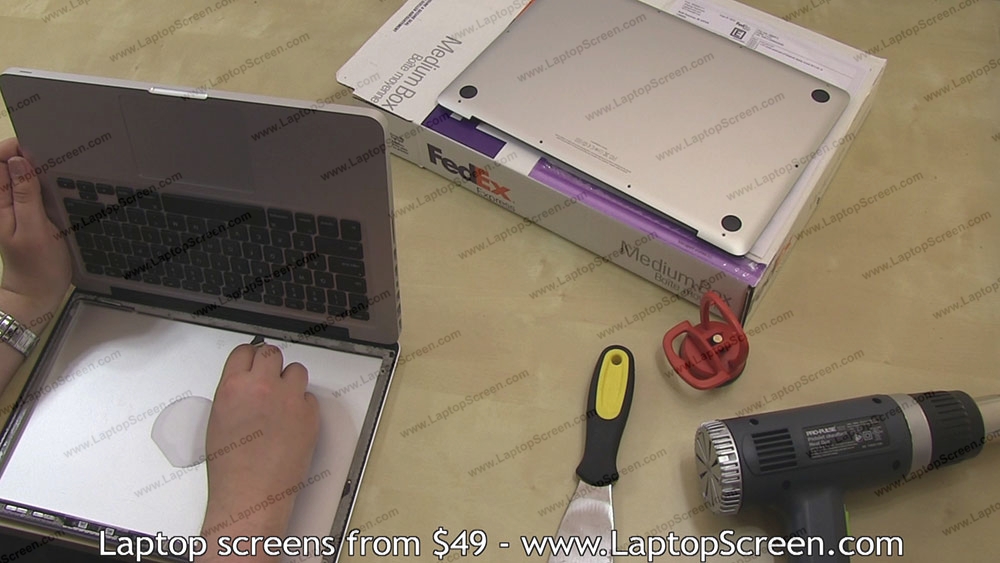
2. The LCD panel is behind the front glass, which will need to be removed. The front glass is adhered with double sided tape, so we will be using a heat gun for separation. Start by moving the heat gun around the perimeter of the screen, being careful not to keep the heat in one position for too long. Keep the heat gun 1 to 2 inches away from the glass at all times. Apply heat for just under 2 minutes.
3. After applying heat around the screen's perimeter generally, focus heat in the upper left corner.

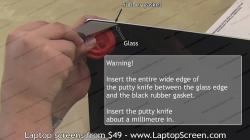
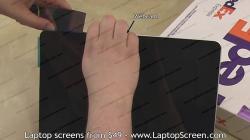
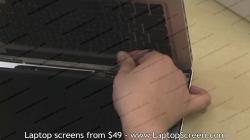
5. Next, insert the entire wide edge of the putty knife in the top left corner of the screen, between the glass edge and the black rubber gasket. Take care not to apply concentrated pressure on the glass, which can occur from the corner of the tool, and may shatter the glass. The putty knife should only be inserted about one millimetre.

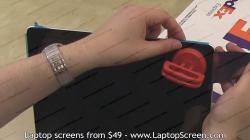
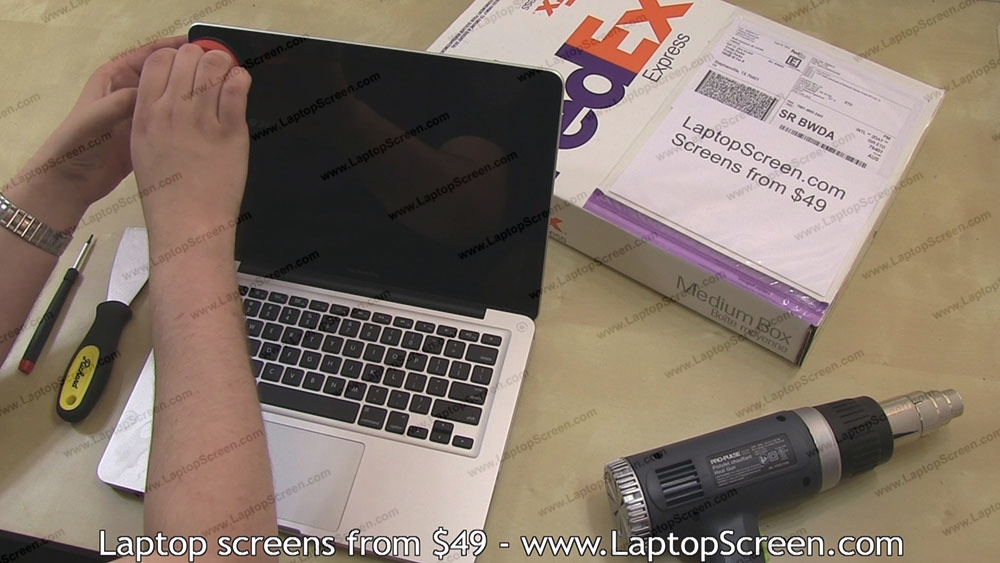
7. Using the suction cup to grip the front glass, work the putty knife through the glue, in order to separate the glass from the LCD screen.

9. Once the left side of the glass has been separated, insert pieces of plastic in the top left corner. The plastic pieces will prevent the glue from re-sticking.
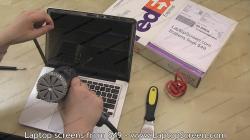
10. Next, use the putty knife and heat gun to separate the glue from the top of the screen, using the same technique as you did for the left edge.
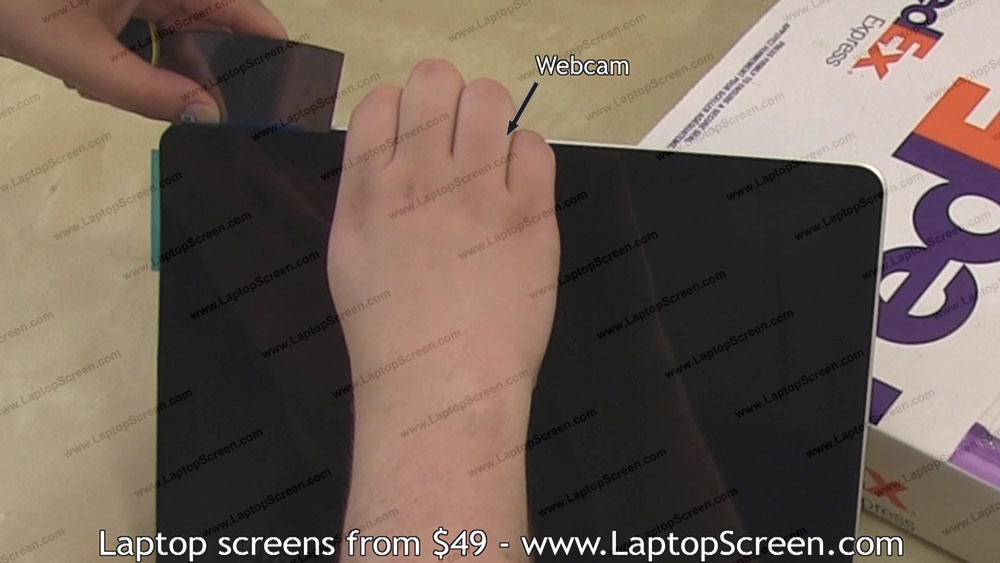
11. Be careful around the webcam, which is located in the middle of the top of the screen, and is connected with two pins, that are glued to the underside of the glass.
12. When you work your way to the right corner, and have it separated, insert a piece of plastic between the glass and the LCD screen.
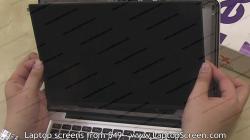
13. Use your fingers to apply outward pressure, moving the front glass away from the LCD screen, and applying heat from the heat gun to the bottom edge.

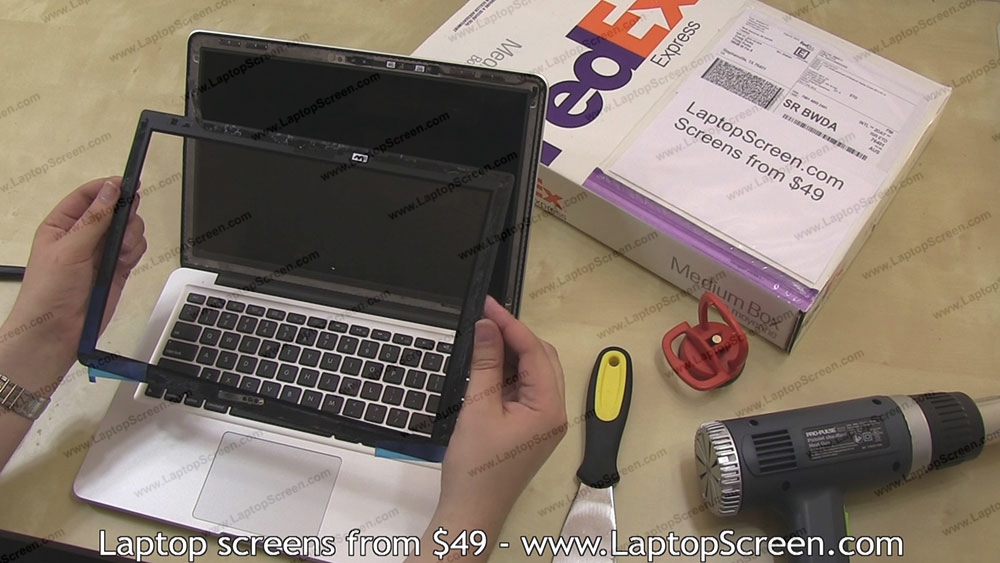
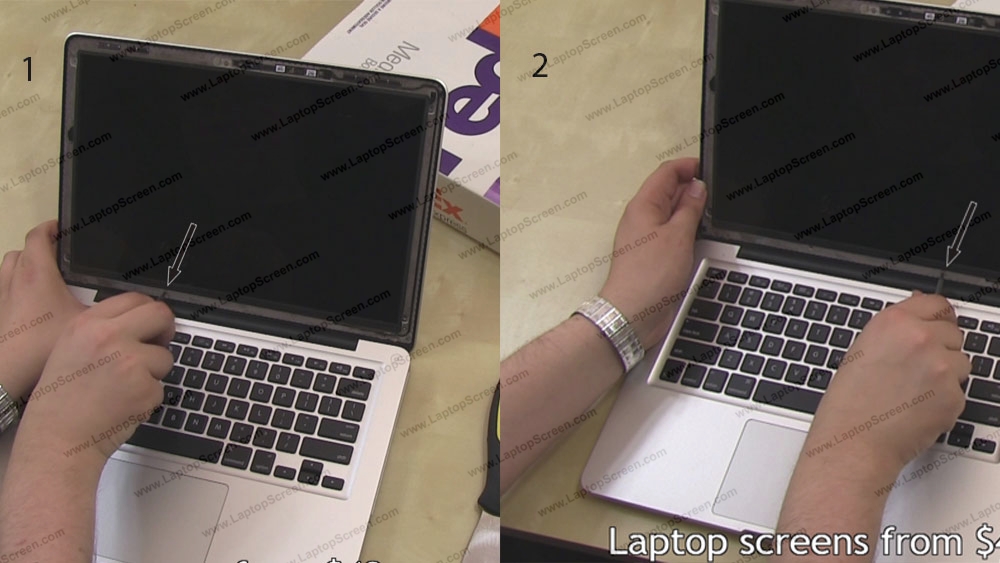
15. Using a screwdriver, remove the 4 identical LCD screws. There is one screw located in each of the 4 corners.

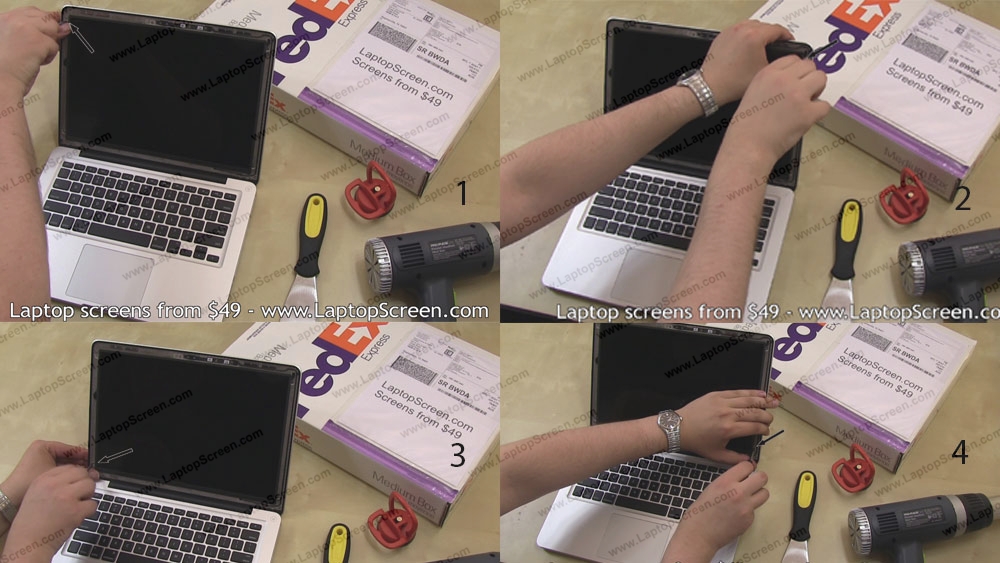
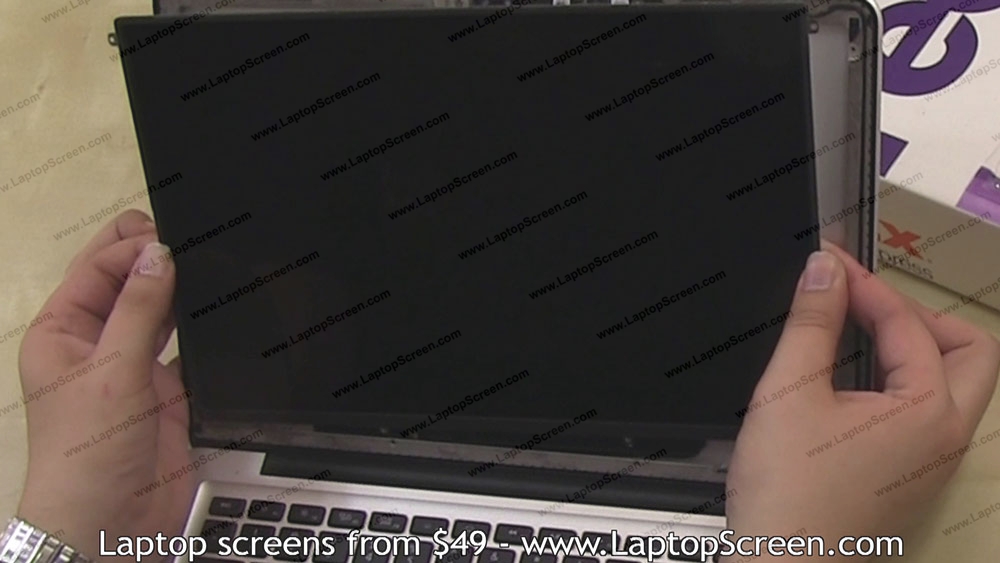
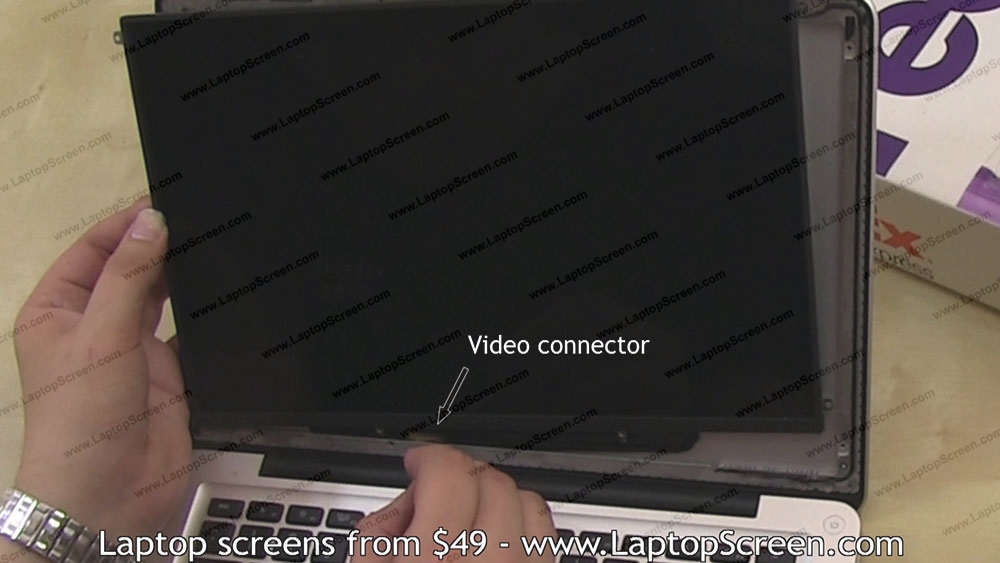
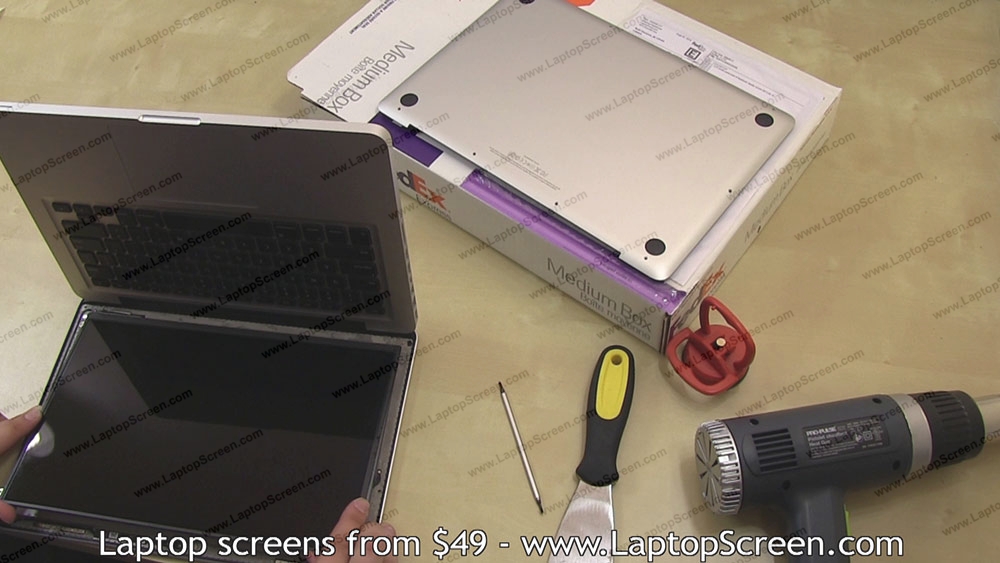
17. Once all screws have been removed, lean the panel forward and gently pull up, in order to expose the video connector.
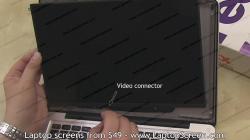
18. The video connector is held in place by a piece of black tape, which can be removed at this point.
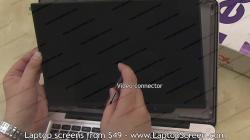
19. There is also a connector bracket securing the video connector, which will need to be unlatched. Use a flat-head screwdriver to unlatch the connector bracket from the video connector.


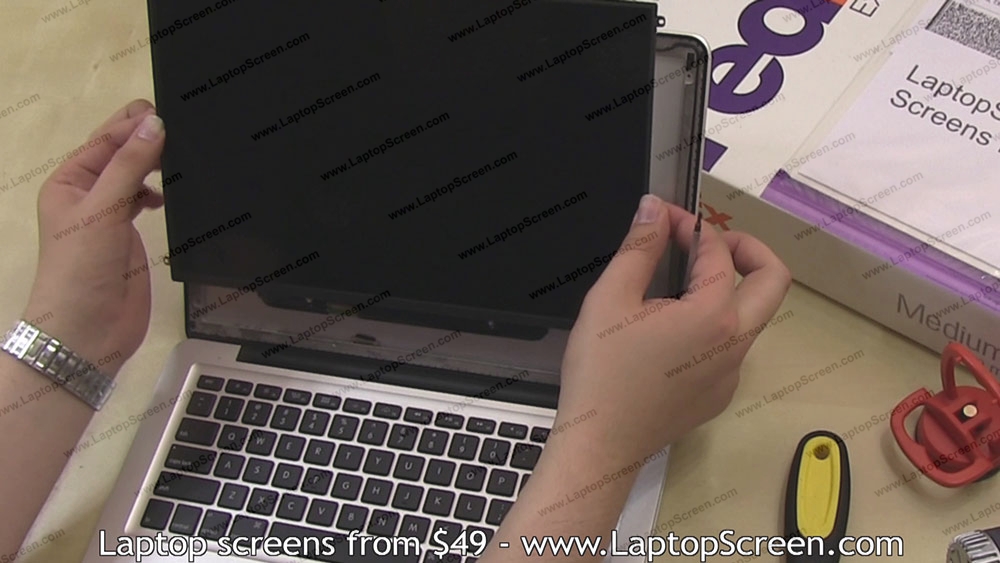
22. There are two options for installing the new LCD screen. The first option is to re-connect the video connector to the LCD screen. This will only be possible if the video connector is long enough, and you are able to successfully latch the bracket. Smaller than average fingers, and a high level of patience are required for this.

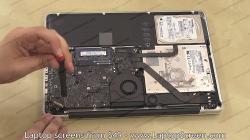
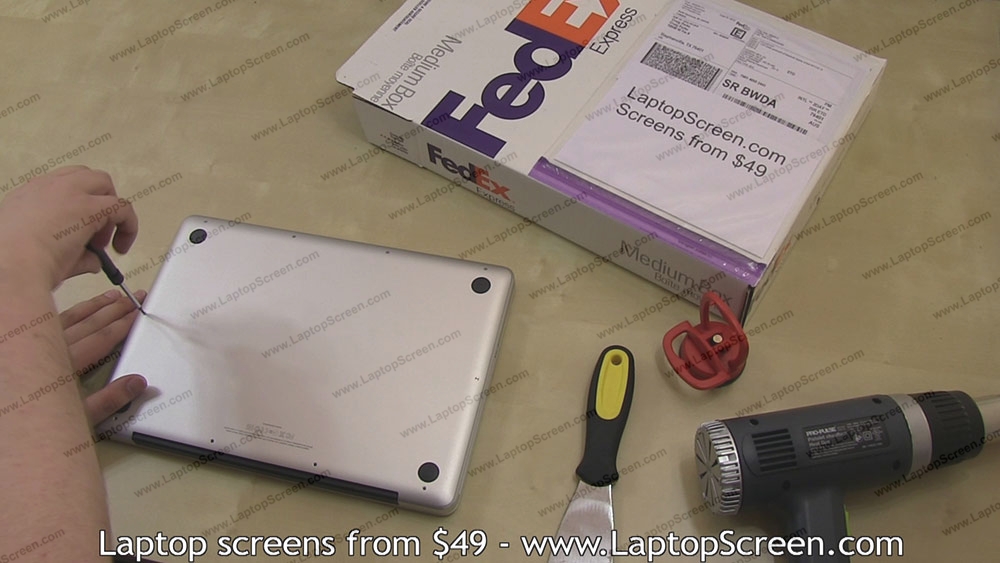
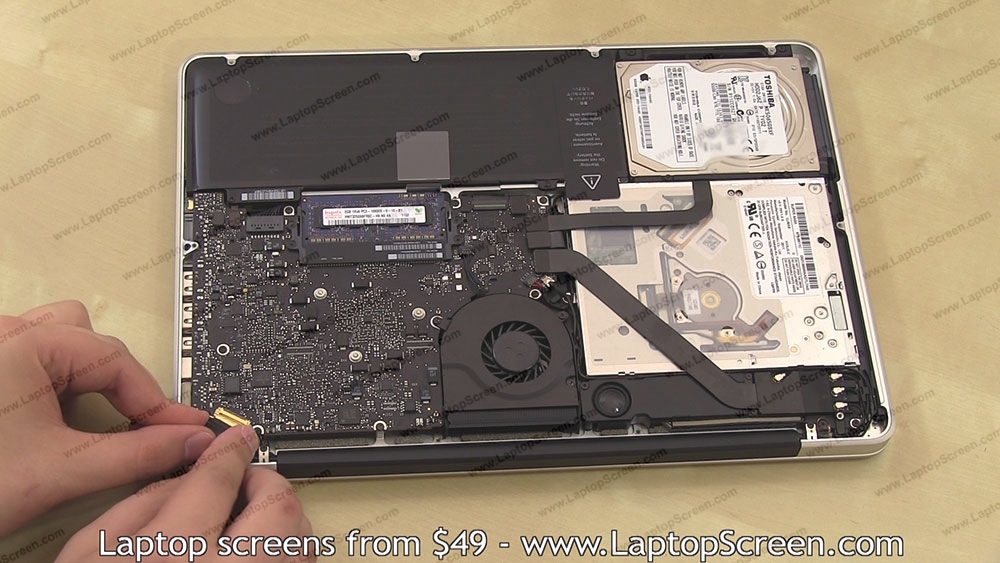
23. If you possess neither small fingers nor extreme patience, we recommend the 2nd option for installing your LCD screen. First, the back cover of the laptop will need to be removed. There are 10 screws to be removed—4 each on the top and the bottom edge, and 1 on each side.


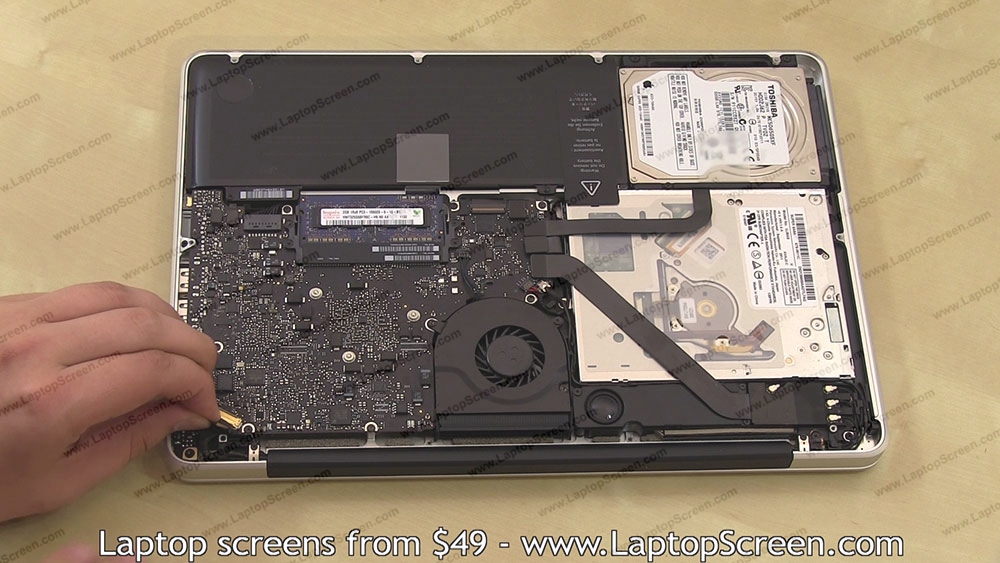
25. There is a small silver piece of metal, which is fastening the video connector down. Unscrew this piece of metal.
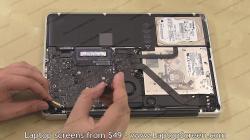
26. Next, remove the 2 screws from the black t-shaped piece, which is in the way of the video connector.

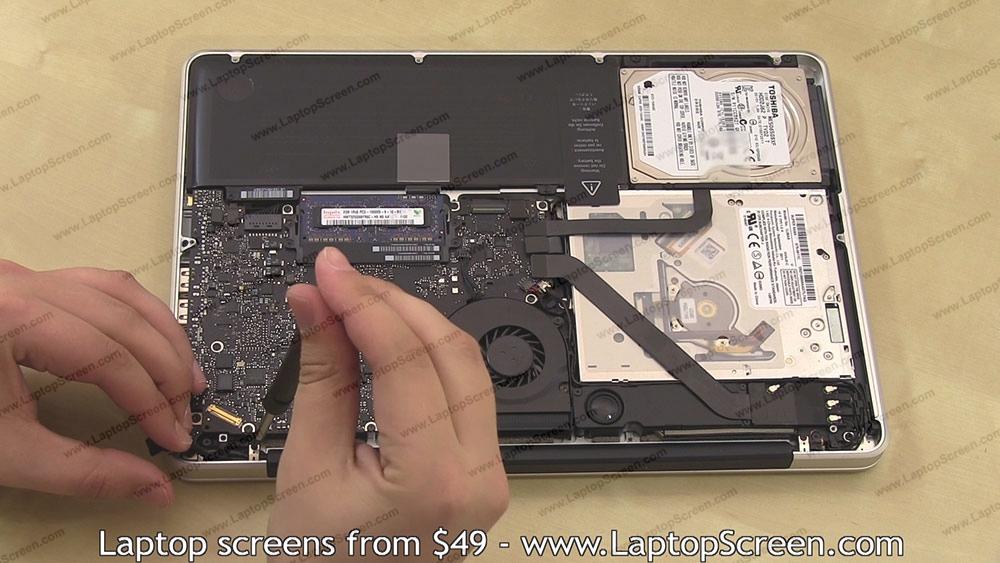
27. You will now have about an inch of slack on the video connector cable. This will make connecting the LCD screen much more pleasant. Push the cable through toward the hinge.

29. Place the LCD screen on the back cover, aligning the connector with the cable. Using a pick or flat-head screwdriver, re-connect the video connector cable, and latch the connector bracket.


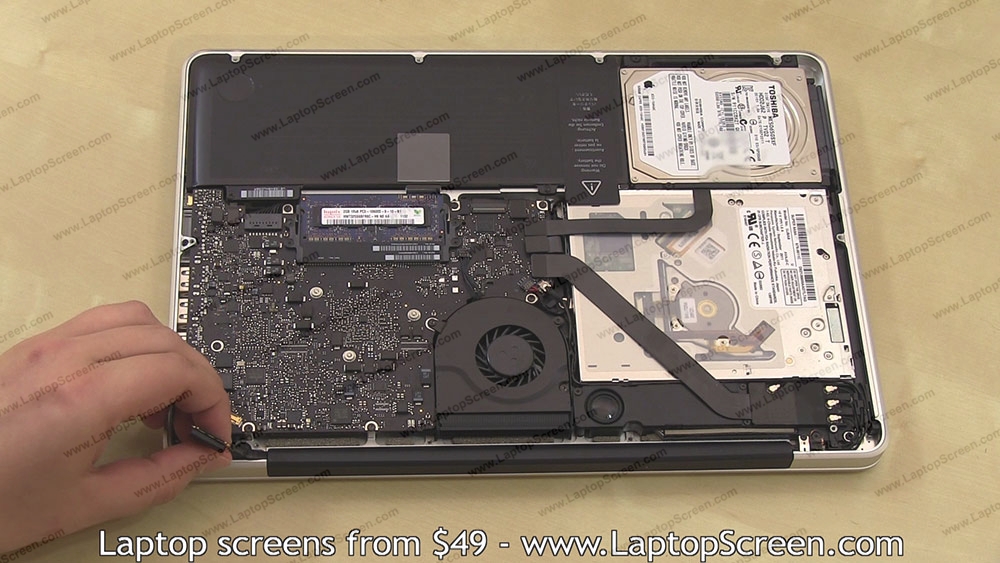
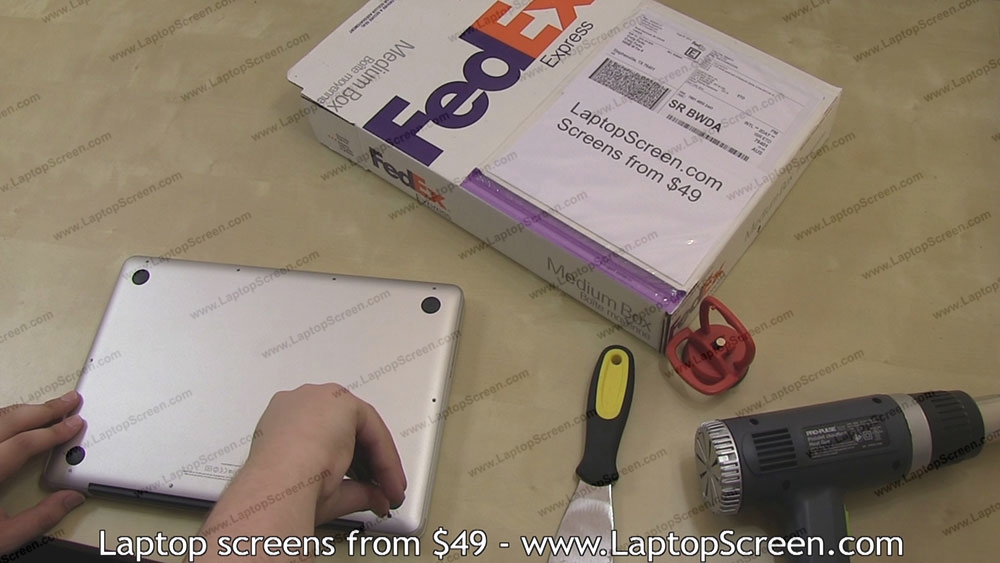
32. Close the laptop and turn it over so the bottom is exposed. Attach the 2 fastening pieces by replacing the 3 screws.


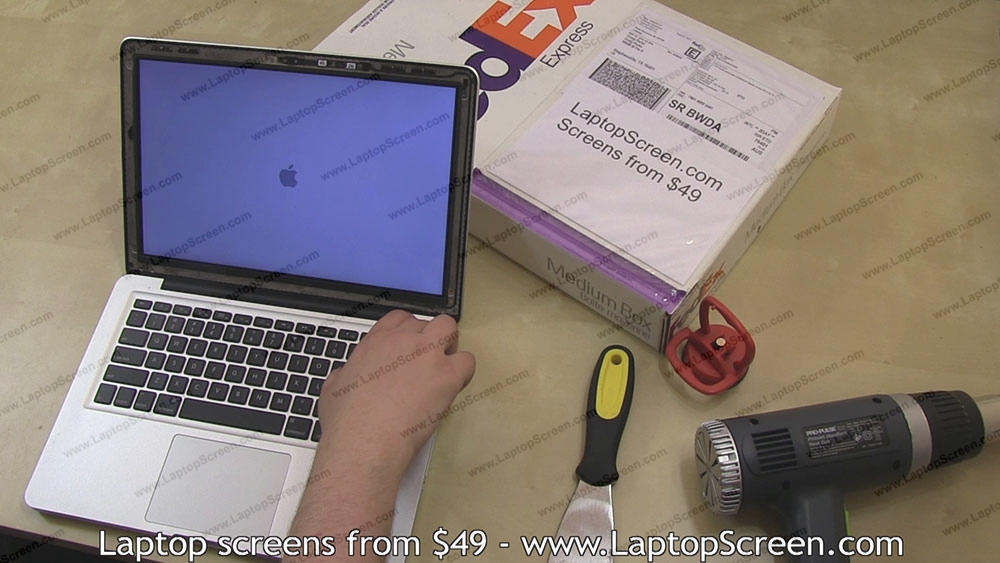
35. Before proceeding, it is a good idea to test the connections by turning on the Apple MacBook Pro 13" laptop. Simply press the on button.

37. Now that we have verified that the laptop is powering on correctly, replace the 6 LCD screws from around the edge of the screen.
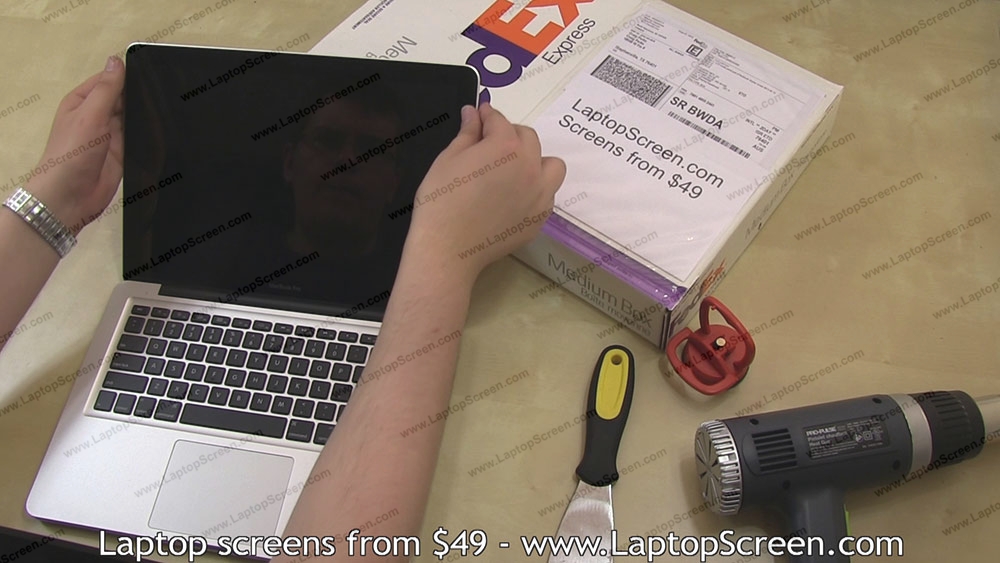
38. The front glass can now be replaced. Align the front glass by lining it up with the bottom edge first.


41. You're done! The laptop can now be powered on as usual.