Please watch the installation Video Tutorial or simply follow the instructions below:
This is a guide on installing an LCD screen and glass digitizer on an iPhone 4S.

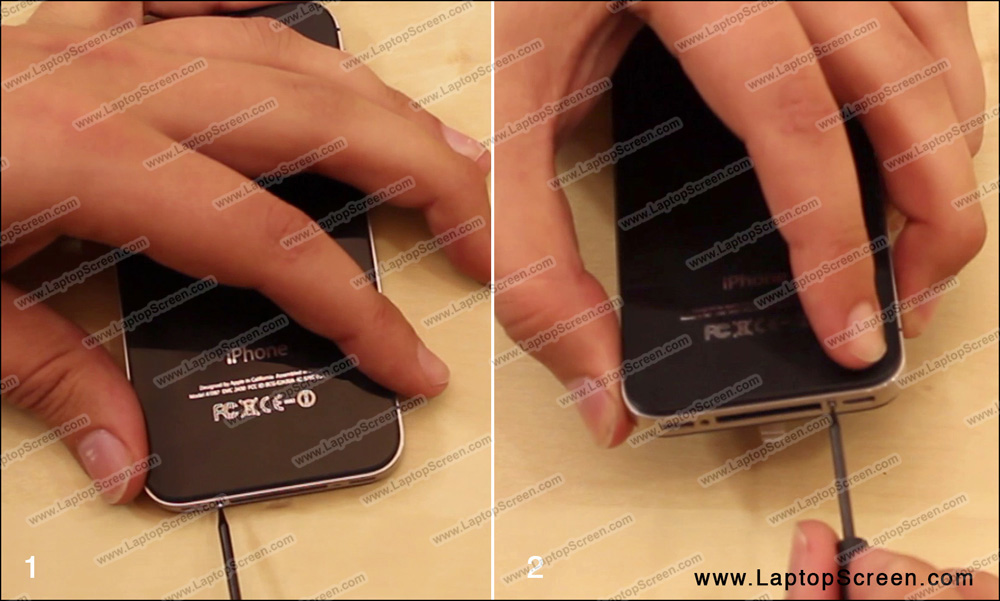
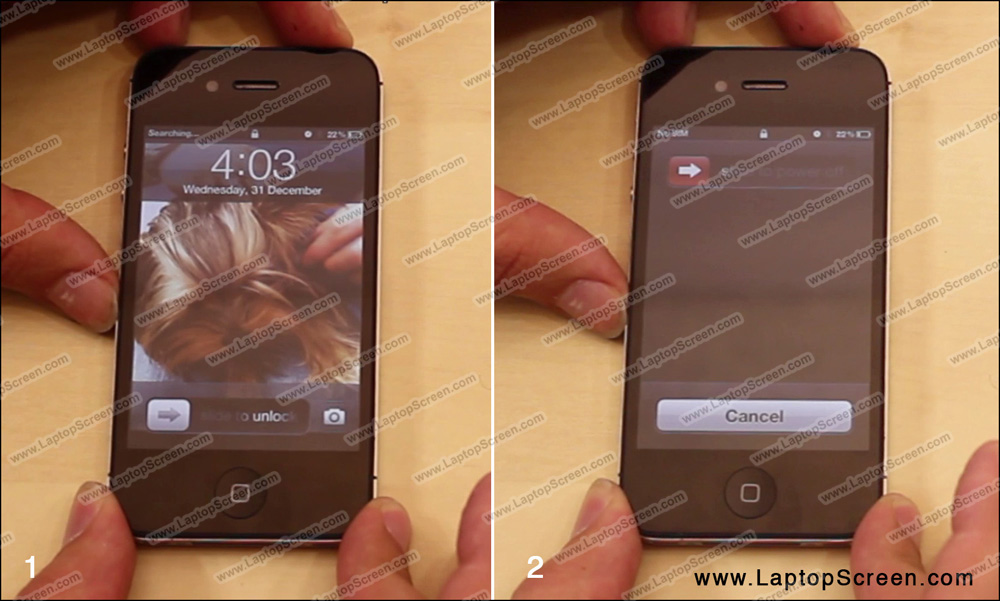
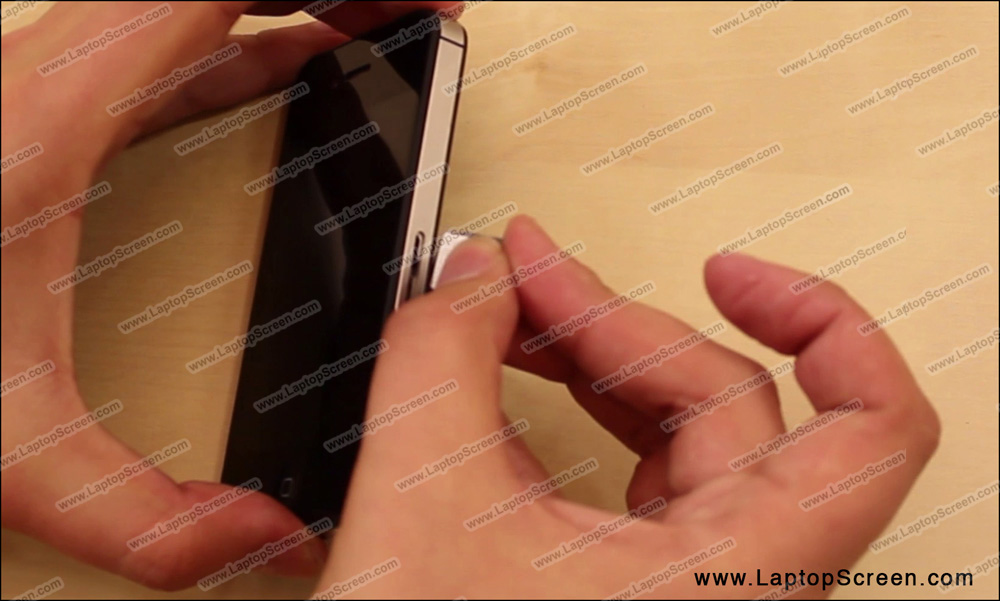
1. First, turn off the phone, by holding the power button at the top and confirming the shutdown on-screen.


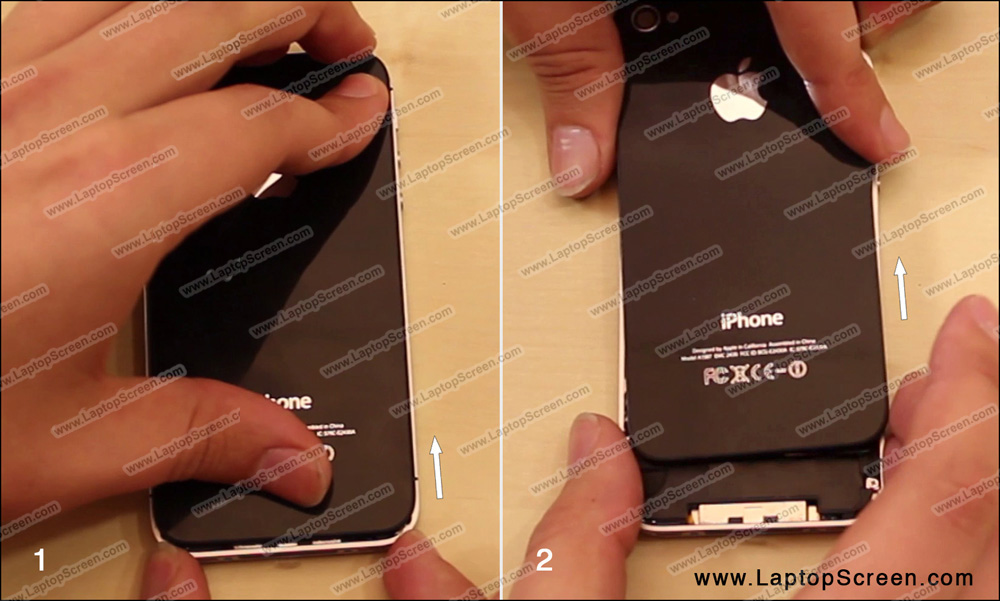
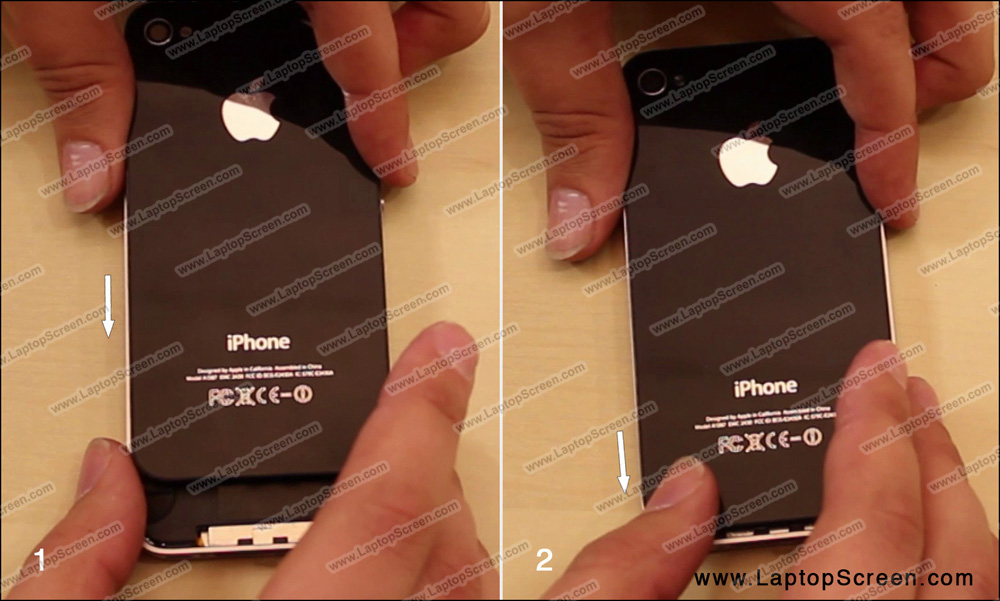
4. Turn the iPhone upside down and remove the back cover.
Slide it up and pull away from the main body.


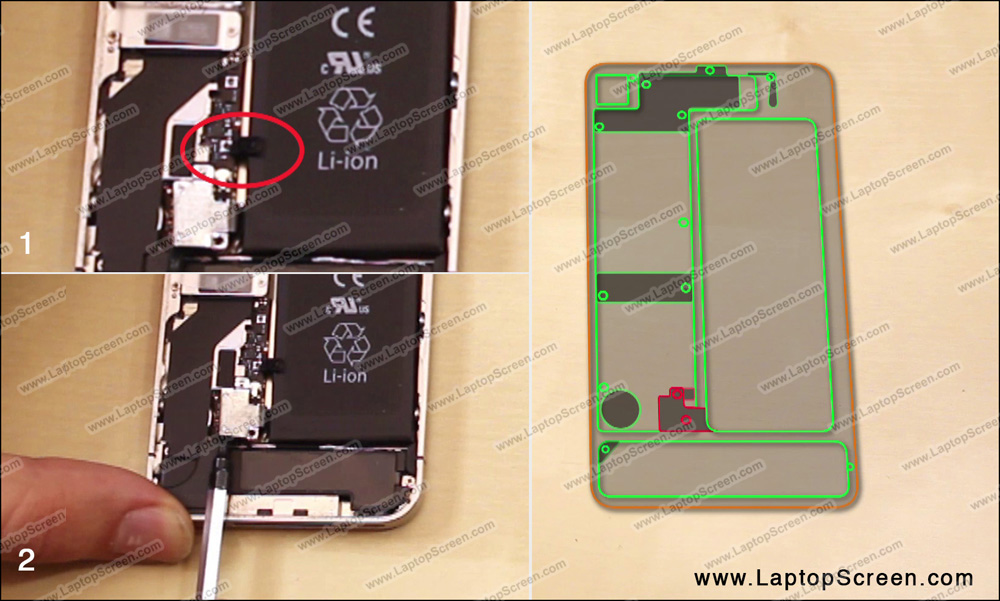
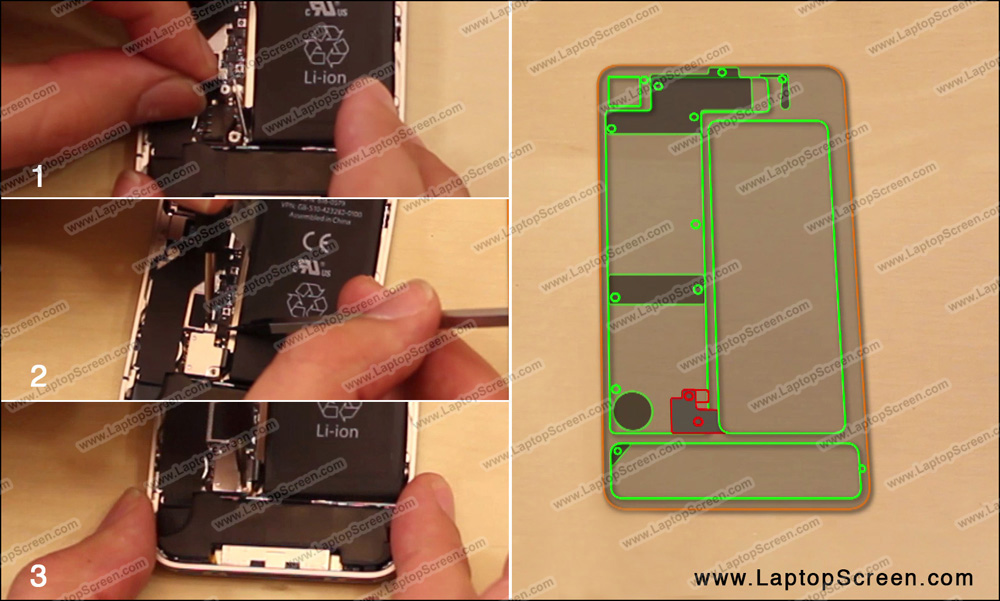
6. Remove 2 small screws holding the battery connector.
Pick the connector open, with a flat-head screwdriver.
There is a grounding piece attached to the battery connector, it should pop out as soon as you lift the connector.
You will need to put back in-place when reassembling the device.

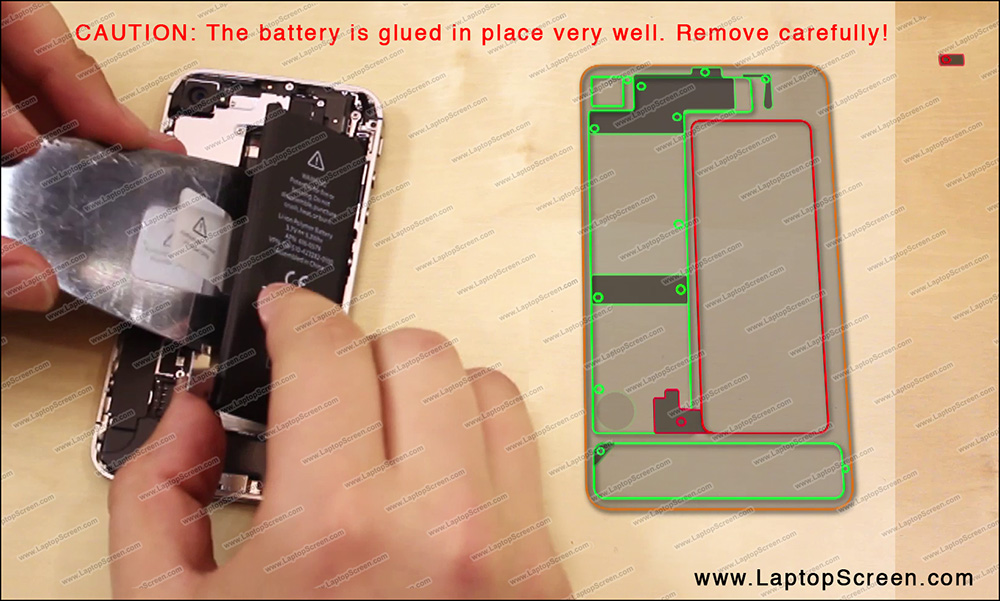
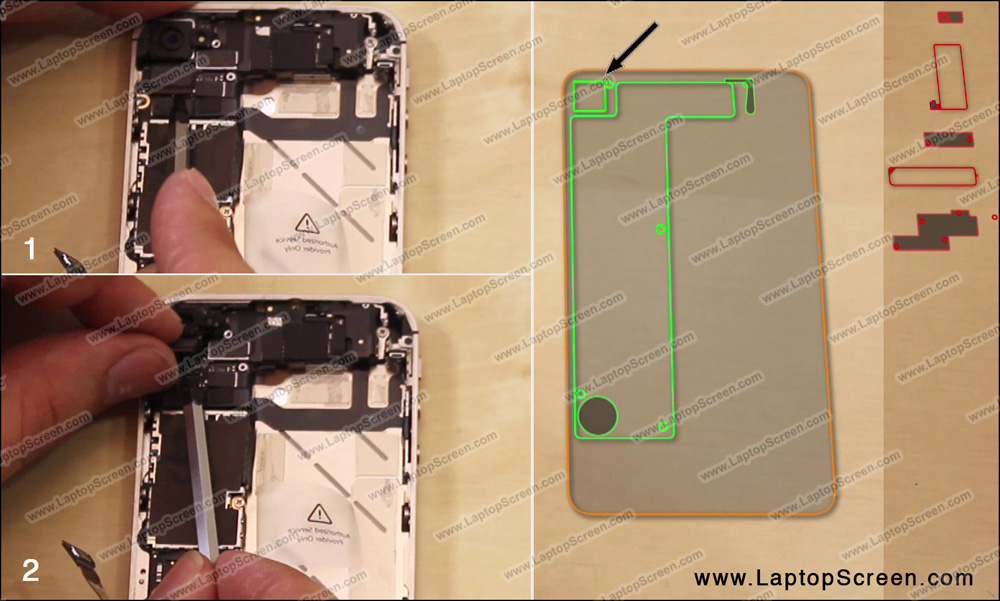
7. Remove the battery, using a putty knife to pry it out and pull on the better tab.
Caution the battery is glued in place very well, be careful when removing it.

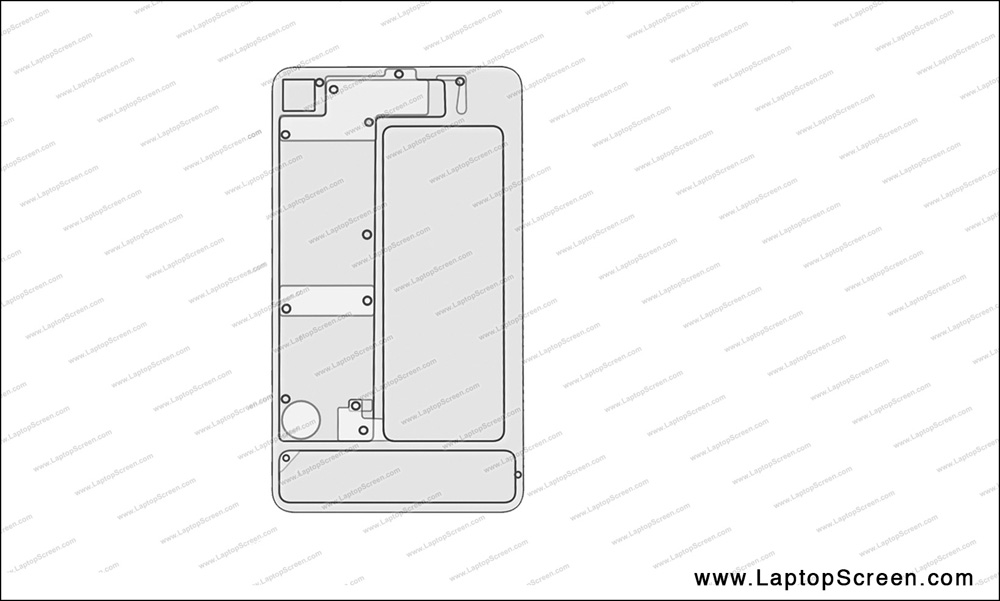
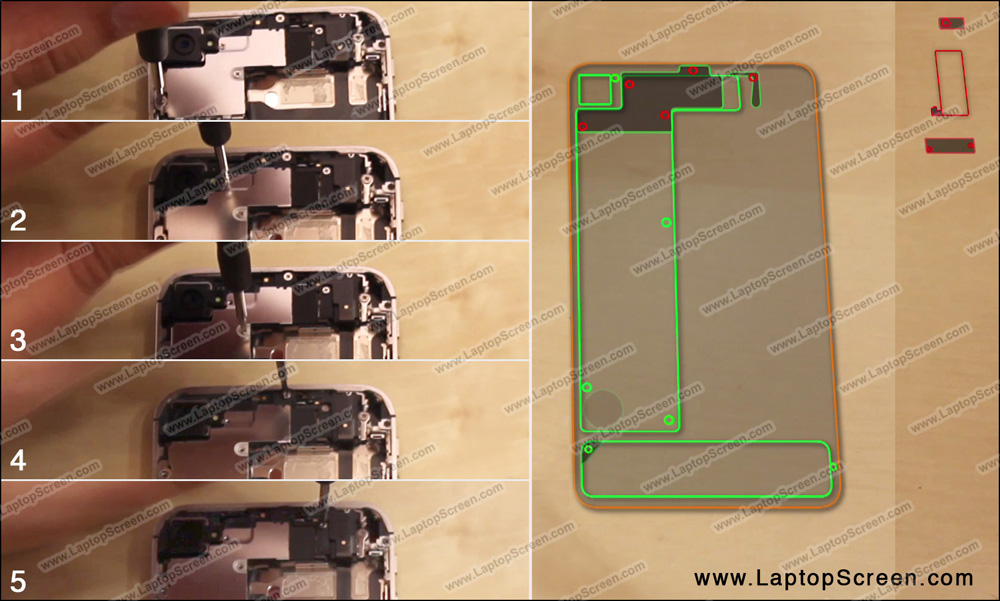
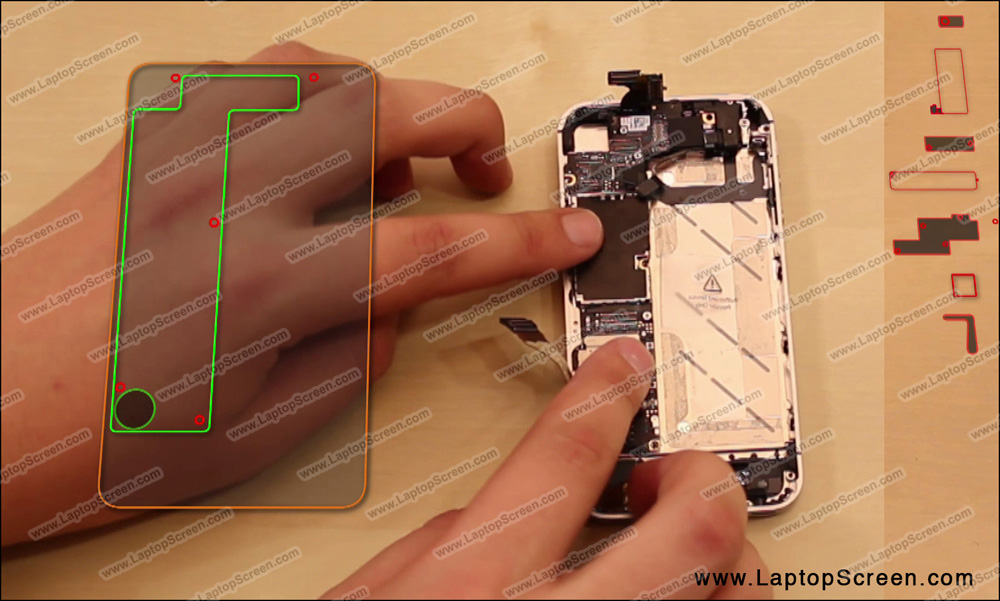
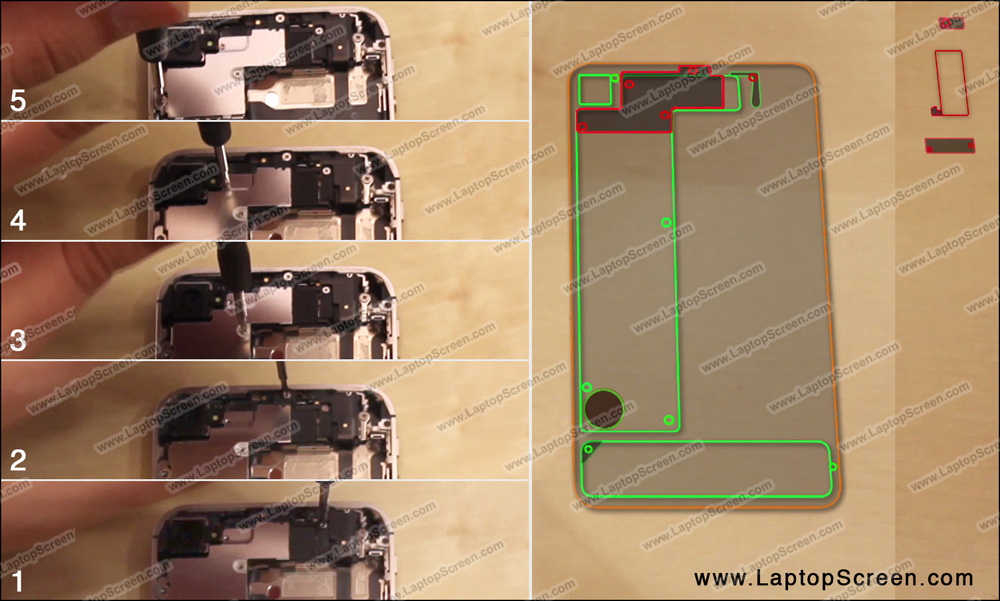
9. Move on to the upper EM shield and remove 5 screws holding it.
Put screws on their correct position on the screw map, it's important to keep track of their position and size.

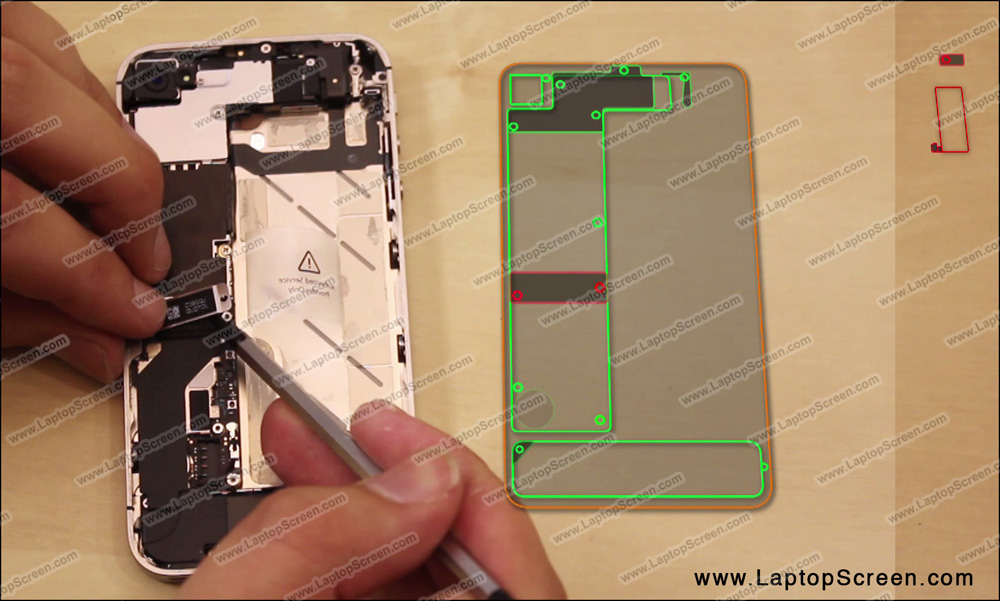
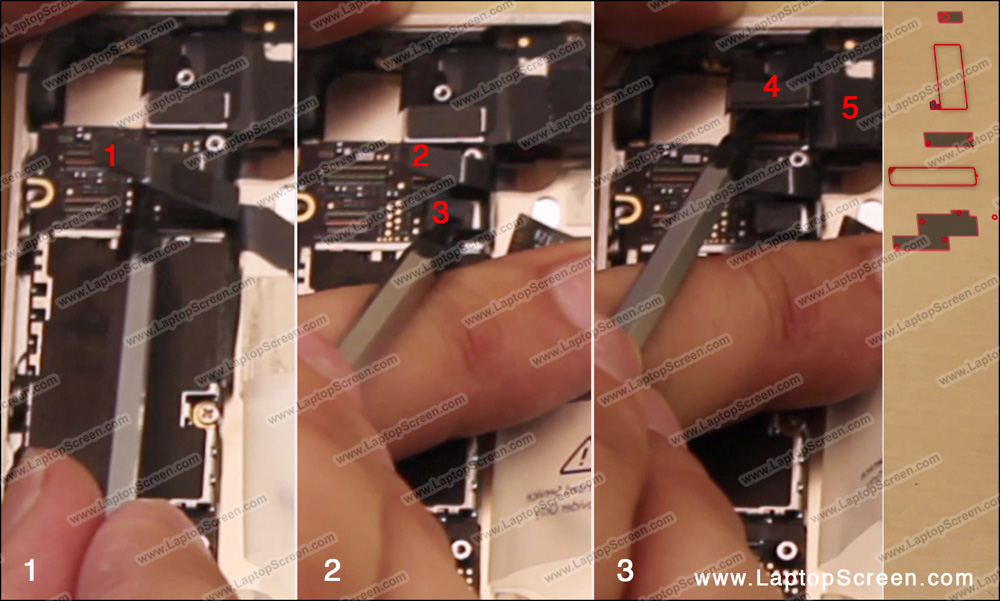
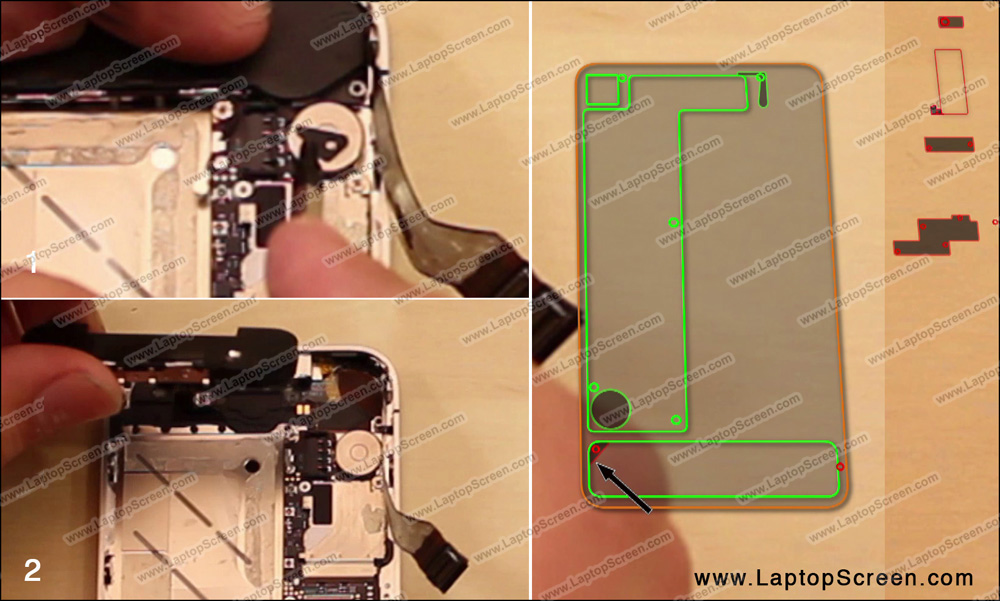
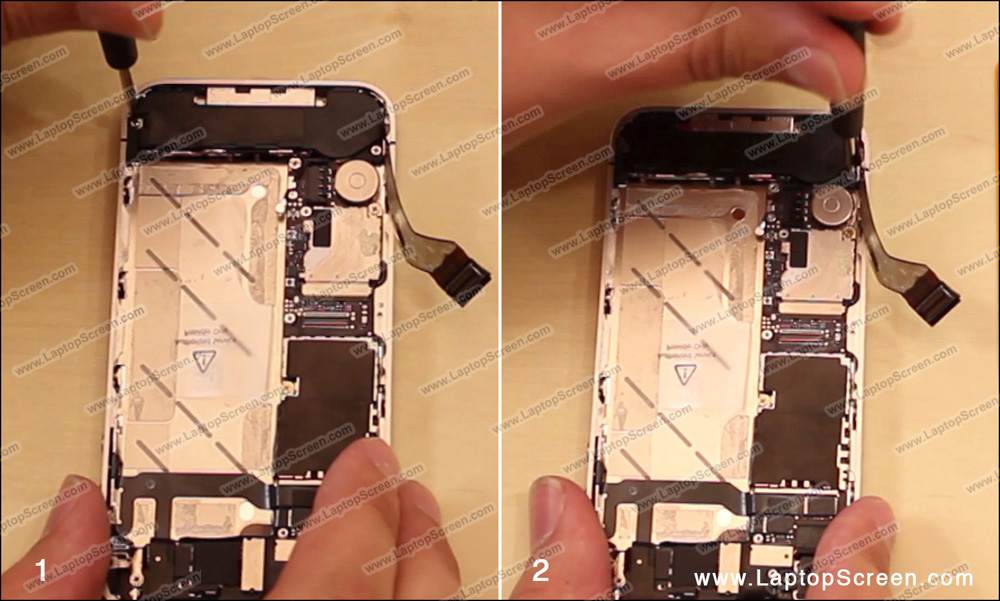
10. Using a pick or flat-head screwdriver pick open a connector in the middle and gently pull the ribbon cable away from the logic board.


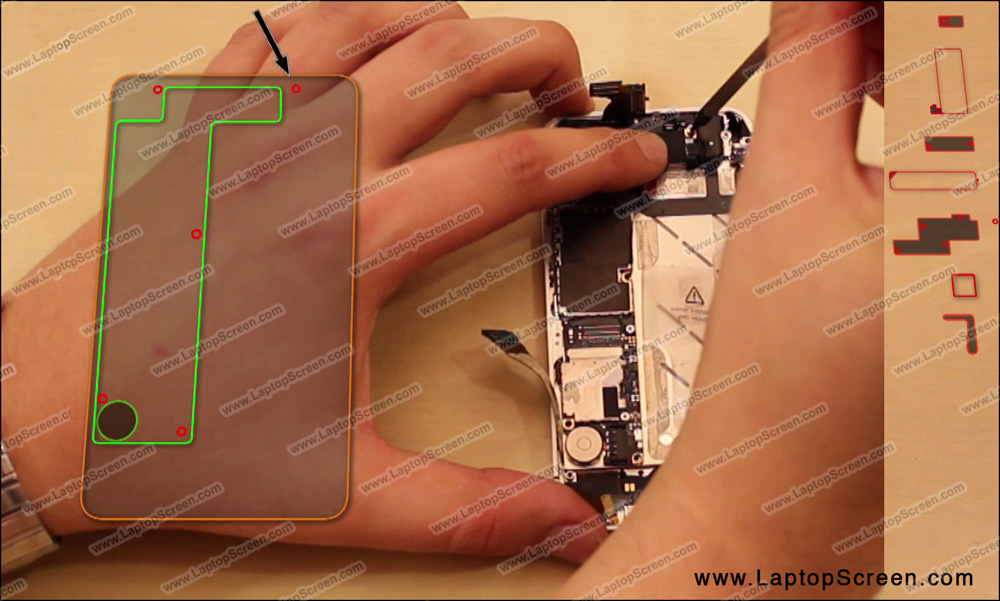
14. Remove the top EM shield.
Please note, it has a hook at the bottom, so it's best to push it down gently when you are lifting it out.

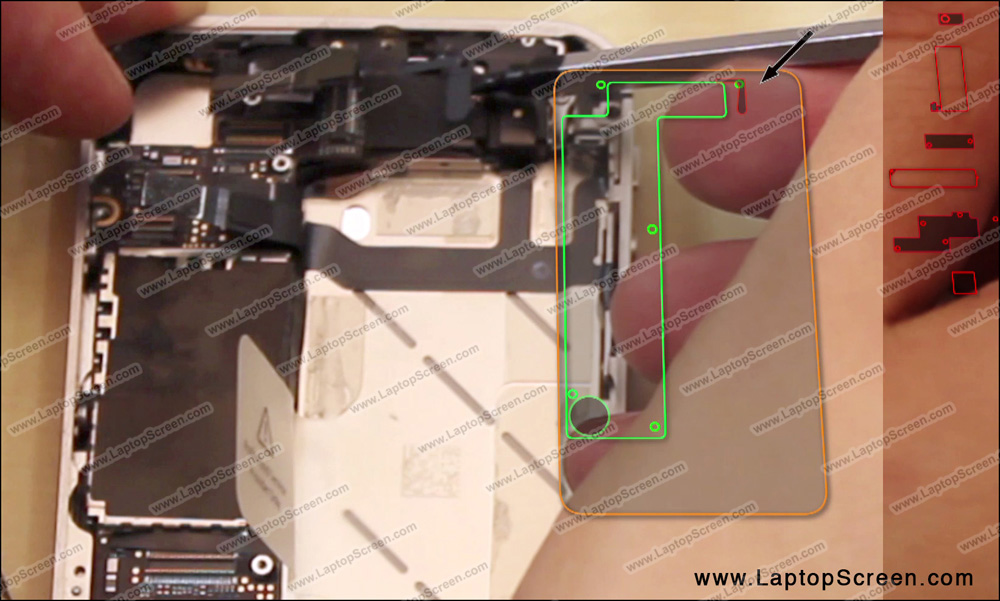
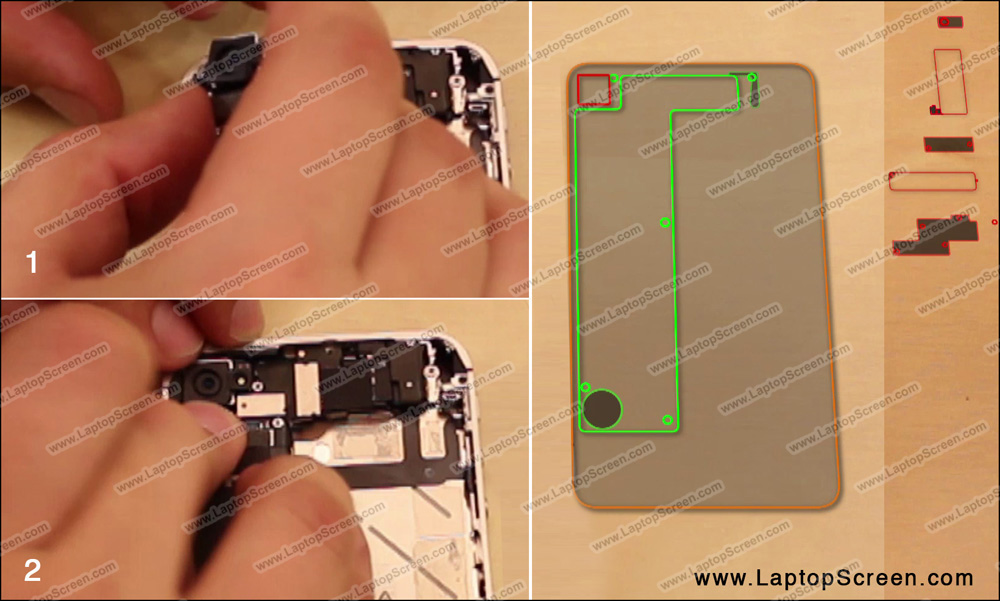
15. Go ahead and remove the rear camera. Gently pick the camera's connector off from the logic board and set it aside.


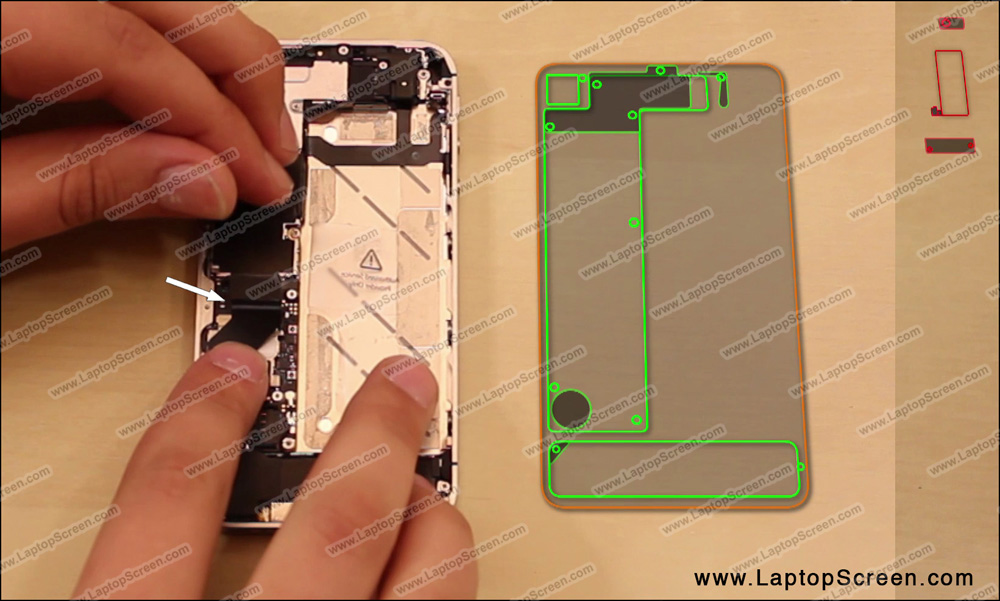
17. Remove another grounding piece which is covering the cellular antenna connector, then pick open the cellular antenna connector if still attached.

18. Proceed on removing 5 logic board screws. First remove the bottom right and the top right screws with flat-head screwdriver.
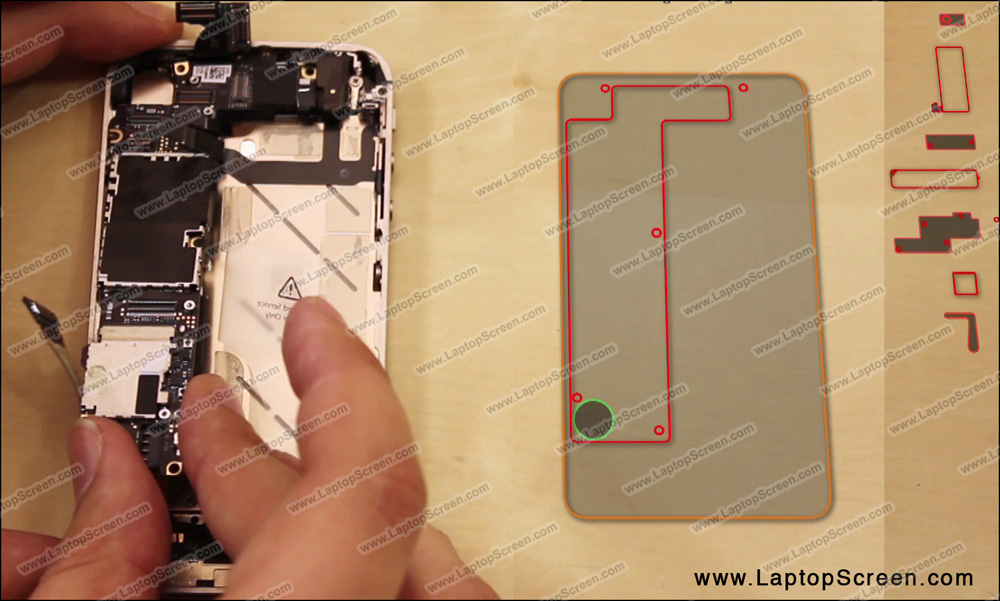
Next, remove bottom left screw near the vibrating motor and right midlevel logic board screw with a phillips screwdriver.
The top left screw is usually covered with insulator, gently pry open the insulating tape, and remove the screw.

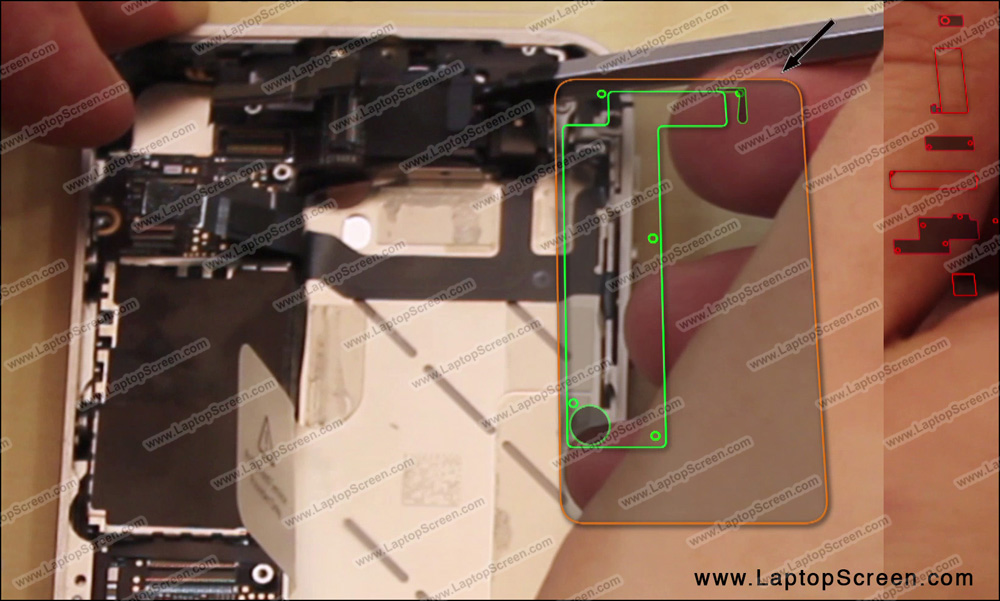
19. Remove the logic board. Lift it up at the bottom, gently rock it side to side, pull it out, making sure that no connectors are getting caught.

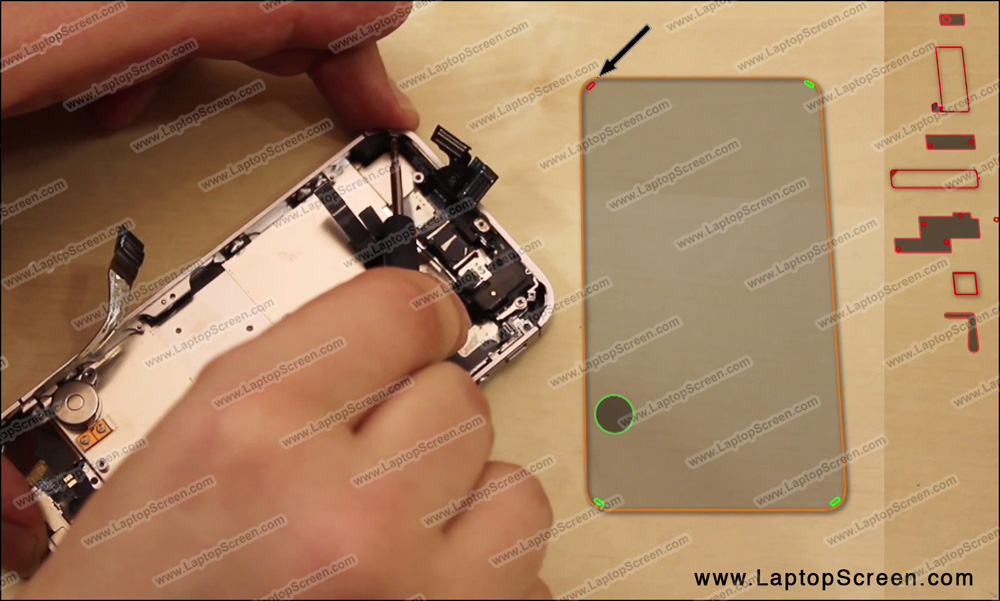
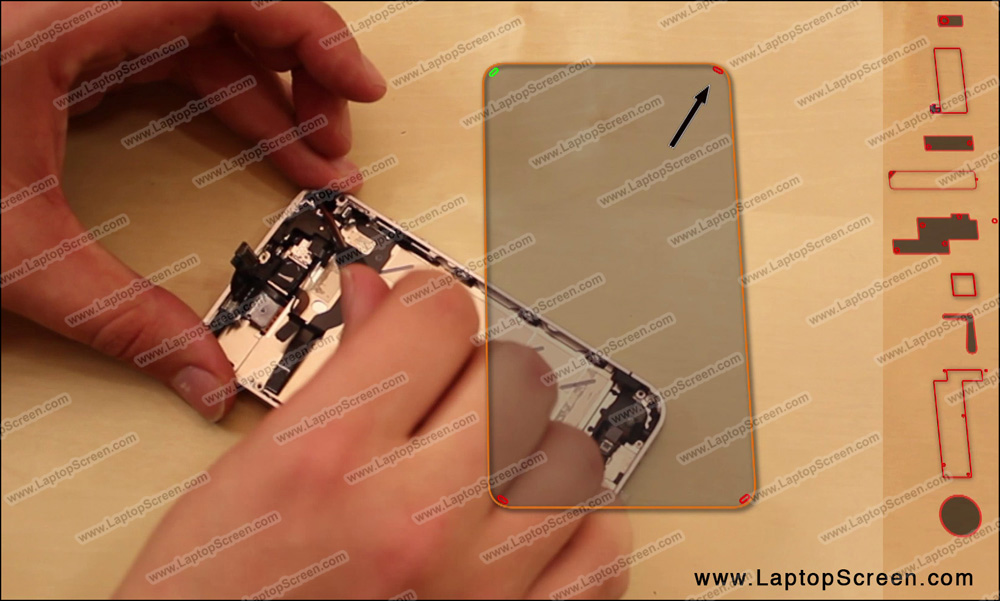
20. Now, remove the 4 screws in each corner that hold the screen. The top left screw is covered by an insulator, expose it first and then remove the rest of the screws.


22. In order to remove the last screw, remove the vibrating motor. Gently pick it off by the mounting tab with a flat screwdriver, then reposition the adhesive for reassembly.


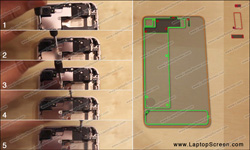
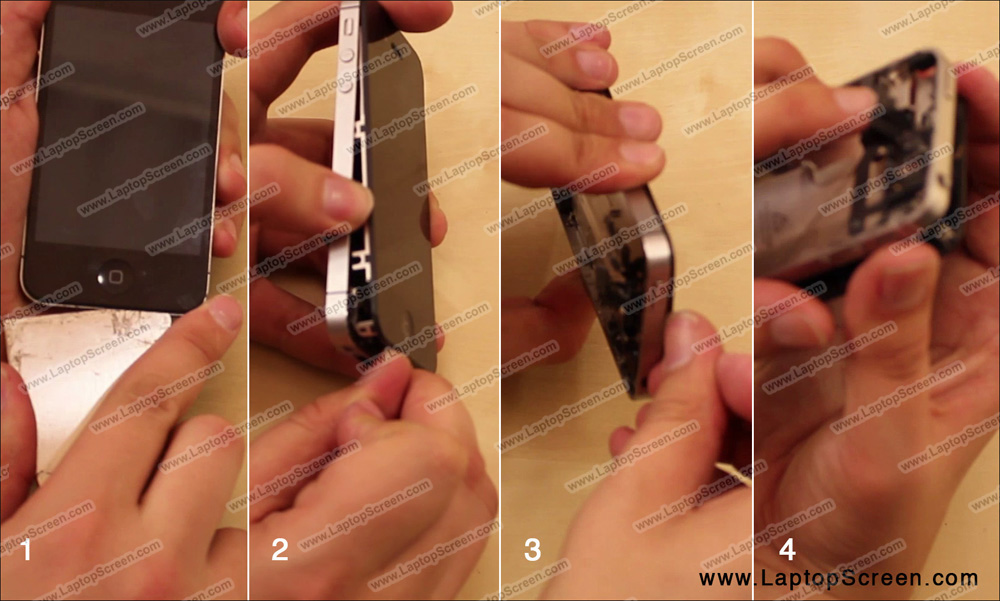
24. Separate the screen with a putty knife.
Start from the bottom, and once sufficiently separated, the rest of the screen can be pried off by hand.

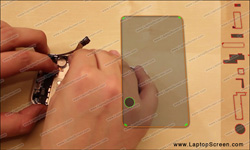
25. If your replacement part does not come with the home button or the speaker grill, you can transfer the original parts onto the new part.


28. Thread the display and the touchscreen connectors all the way through the frame, ensuring that both are completely inline with each other.

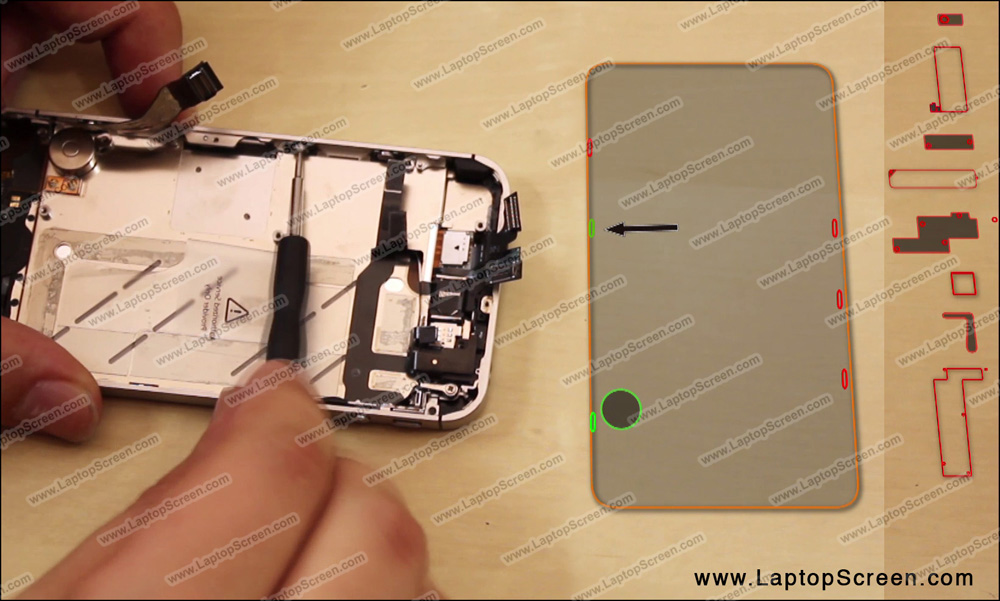
29. Replace the 6 side screws, 3 on each side and make sure that all the washers are in place and secure. Then replace the 4 corner screws.

31. Replace the logic board, Make sure that no connectors are caught underneath and that all the mounting holes are lining up properly.

32. Next, secure the top and bottom right screws with a flat-head screwdriver first.
Finally replace the 3 other screws.


42. Insert the grounding piece under the battery connector and replace the 2 screws holing the connector.
To replace the first screw align the connector with a flat-head screwdriver.


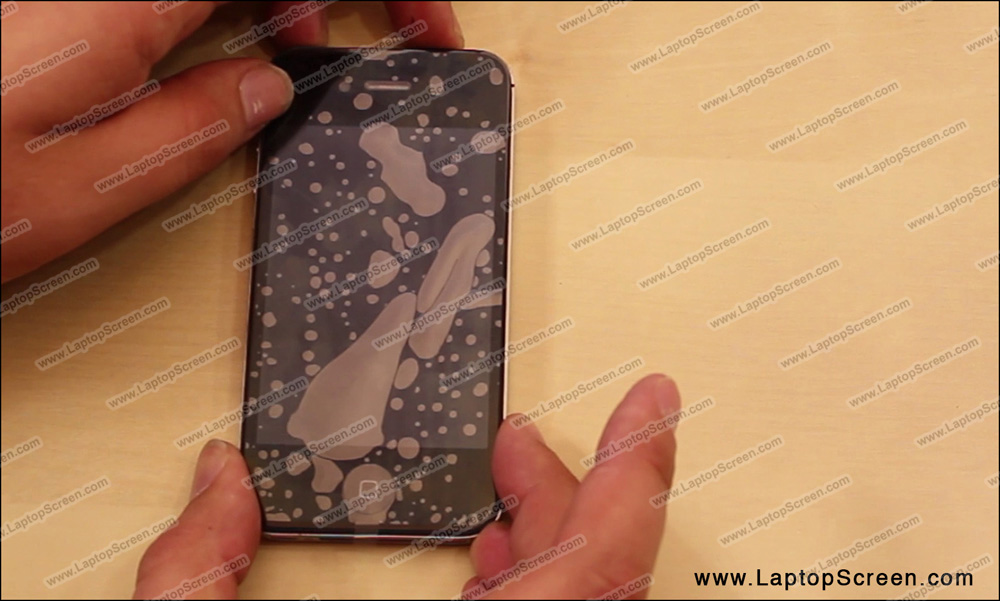
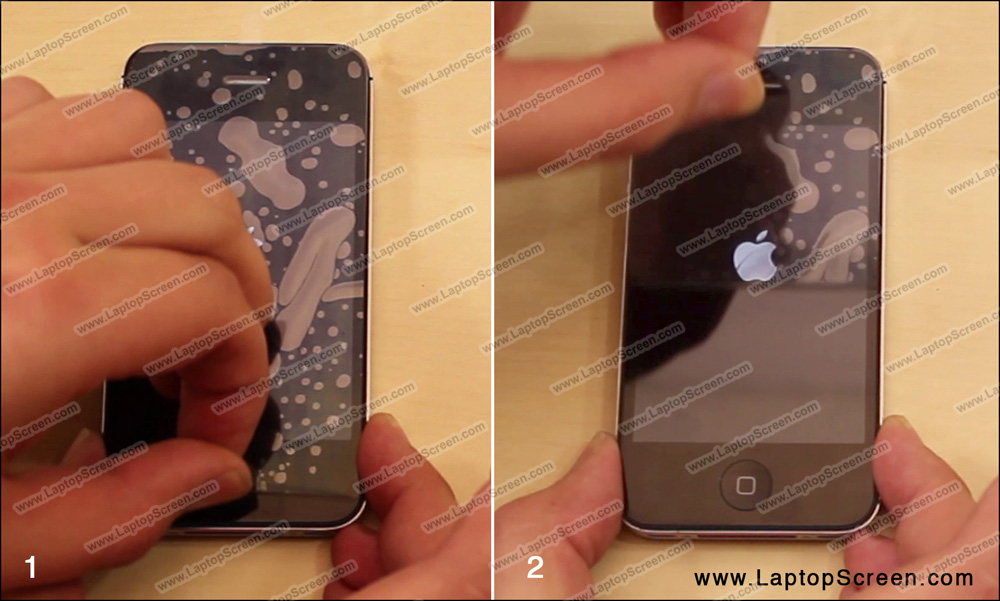
45. Flip the iPhone over and press the power button on top to test the screen.
If the Apple logo appears and the phone responds to the touch the screen is installed correctly.


And you're done!