Please watch the following video (highly recommended), or follow the step by step instructions below:
This guide will explain how to install a glass digitizer on a 10.1" Samsung Galaxy Tab. The glass digitizer is the touch-sensitive screen.
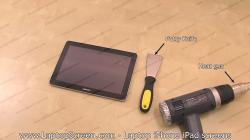
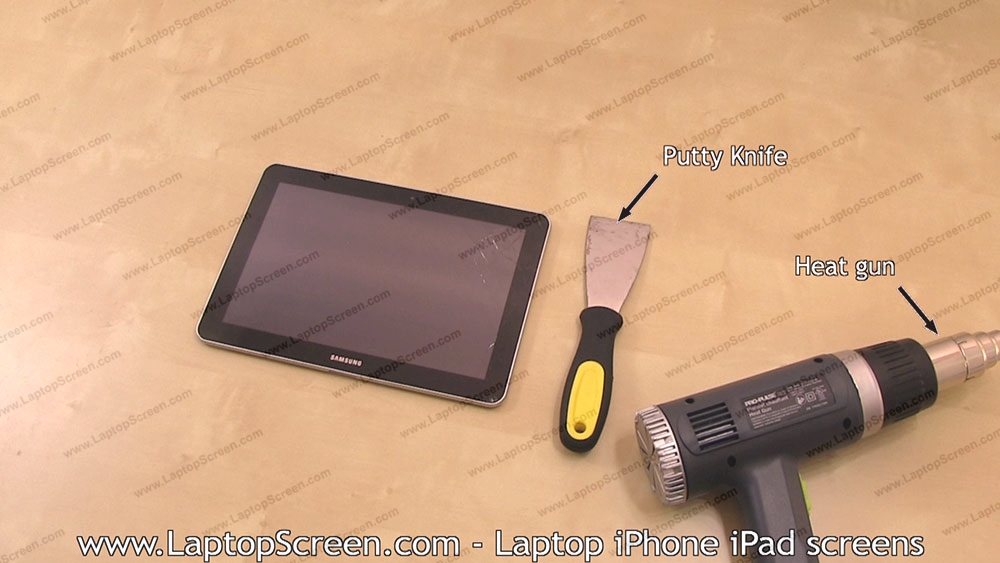
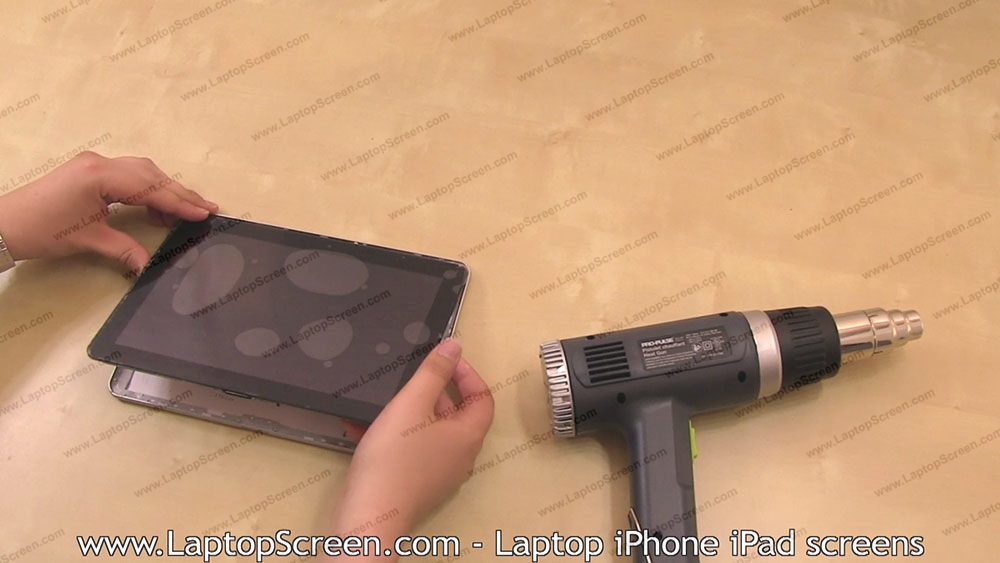
1. The tools you will need for the installation process are:
-flat metal tool, such as a putty knife
-heat gun
-pick or flat-head screwdriver

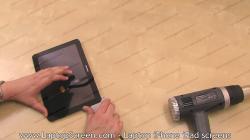
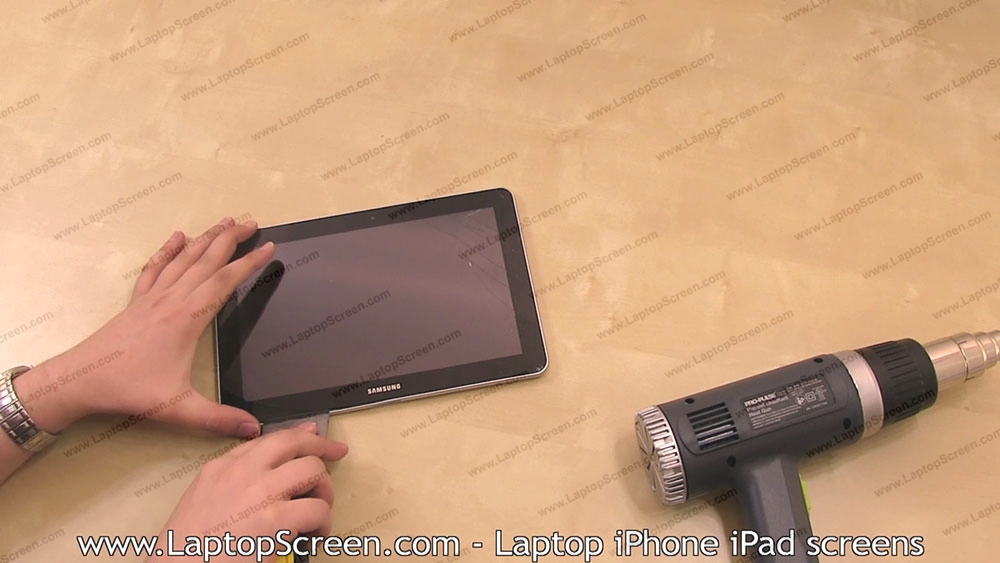
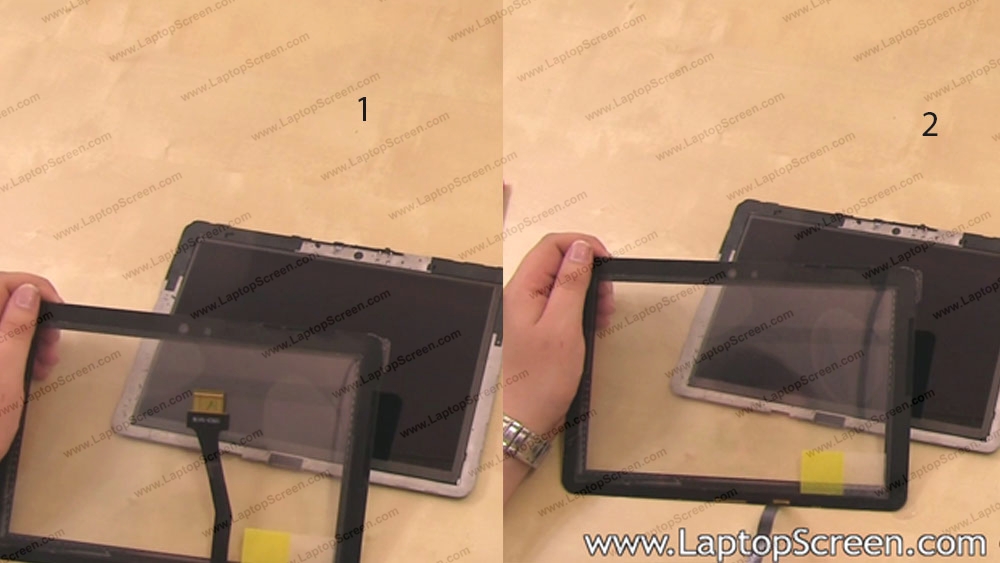
2. To begin the process of replacing a touchscreen digitizer on the Samsung Galaxy Tab 10.1", the glass digitizer will need to be separated from the back cover. Starting at the bottom, use a putty knife to gently pry the back cover off. Take care not to apply too much pressure, just un-snap the locking tabs.
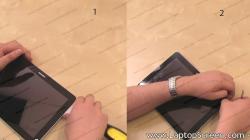
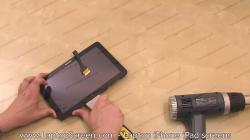
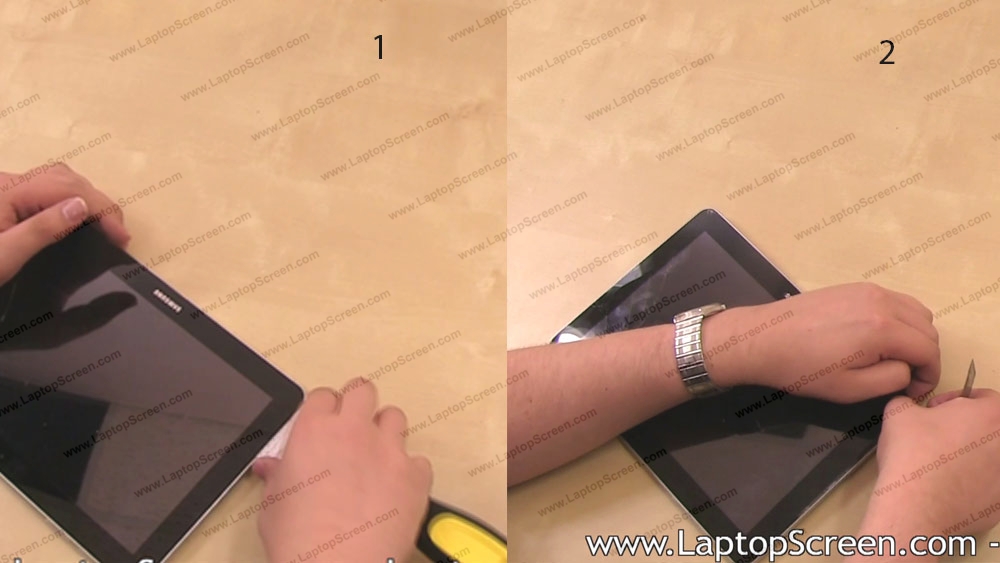
3. Continue separating the back cover from the touchscreen, by moving around the edge to the left. You can then un-snap the back cover from the left edge between the glass digitizer and the back cover by placing your fingers under the edge and gently lifting up.
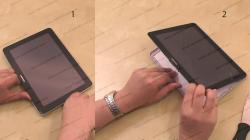
4. Next, move on to the right corner. Use the putty knife to work your way around the right edge to continue with the separation process. Once the right edge is separated, you can then pull out the glass digitizer.

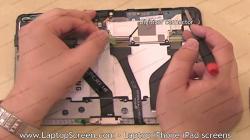
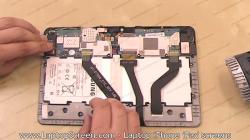
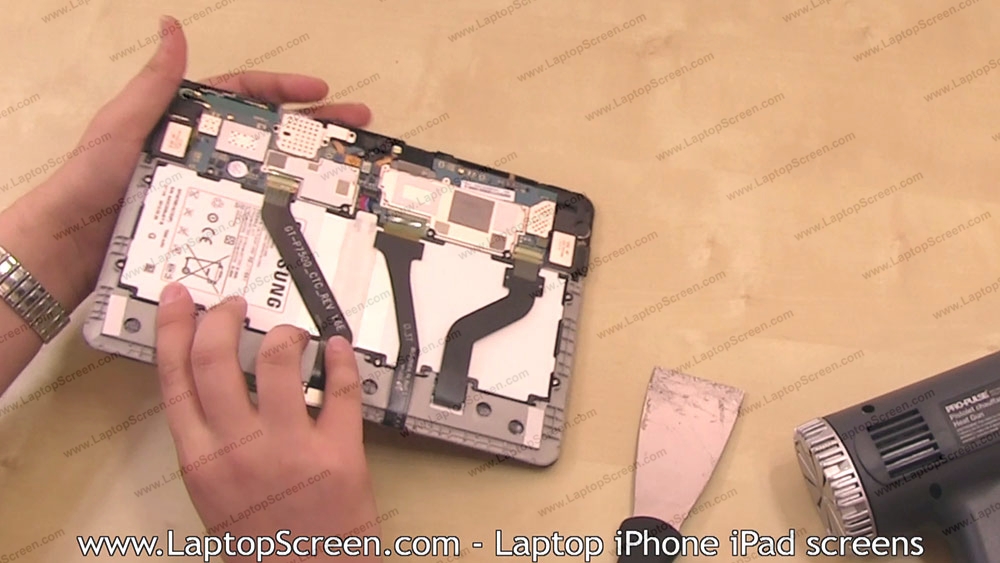
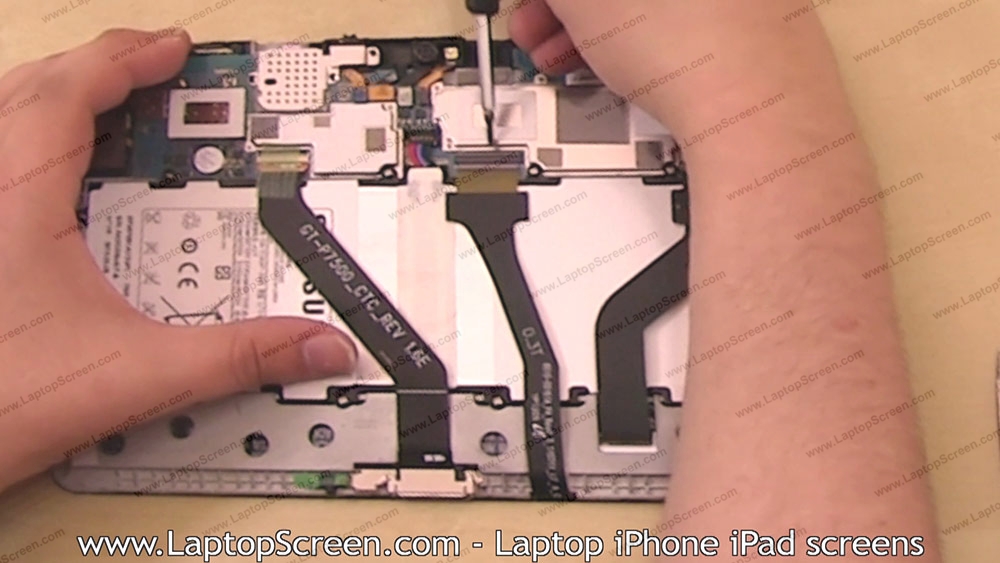
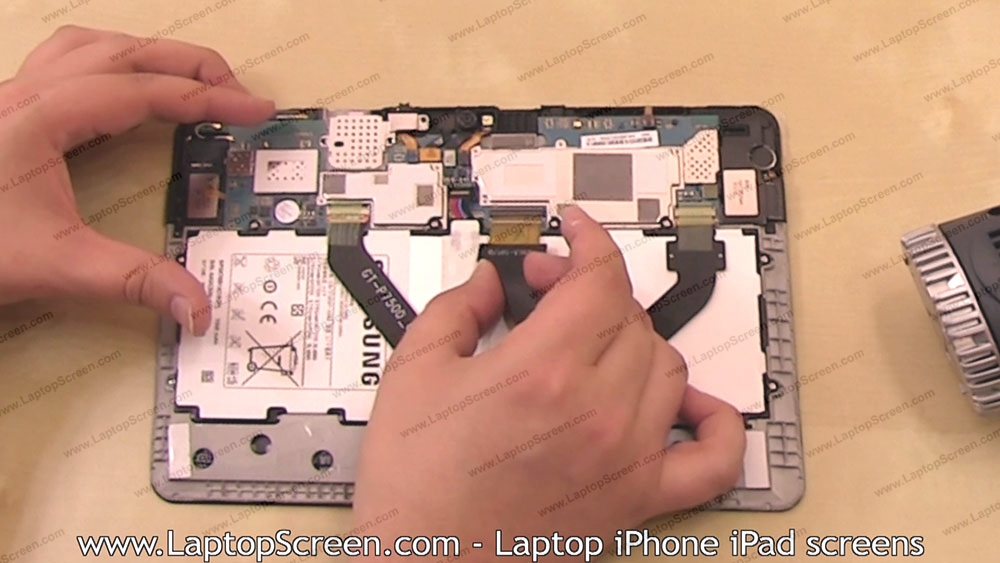
6. There is a piece of tape holding down the digitizer connector, which needs to be removed. Here, a pick or flat-head screwdriver may come in handy.
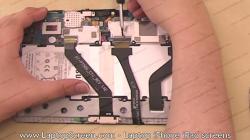
7. After the tape has been removed, use a pick or flat-head screwdriver to detach the digitizer connector.
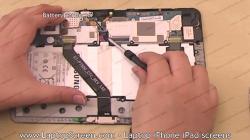
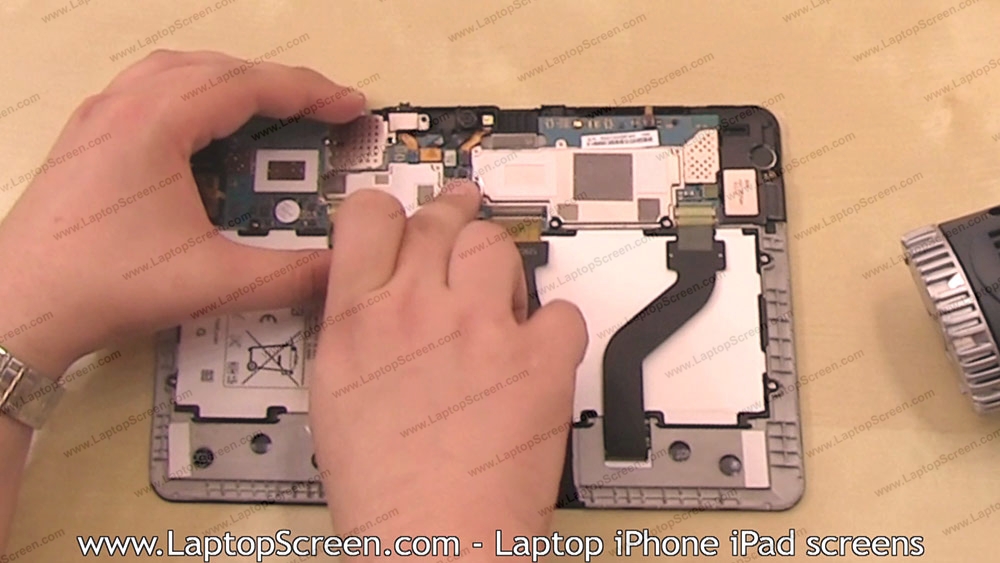
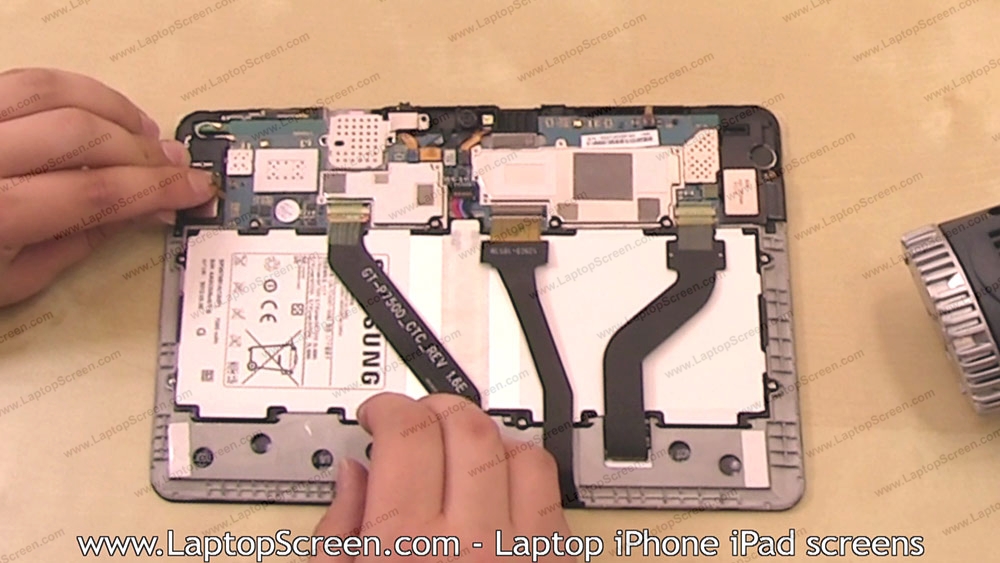
8. It is recommended that you disconnect the battery at this time, so that nothing will be shorted out accidentally.
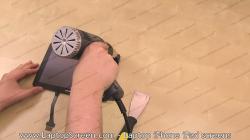
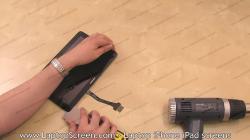
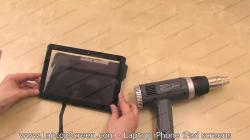
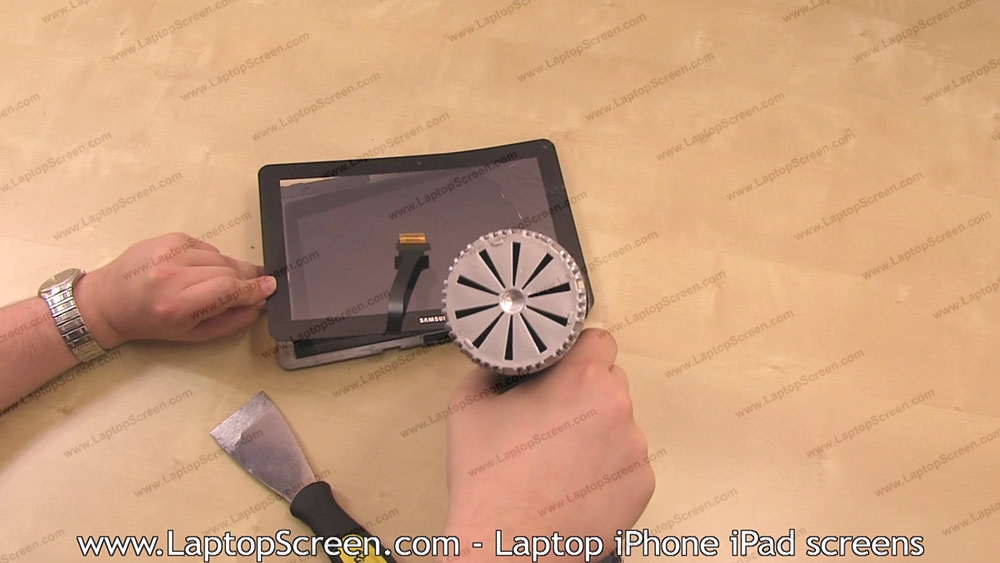
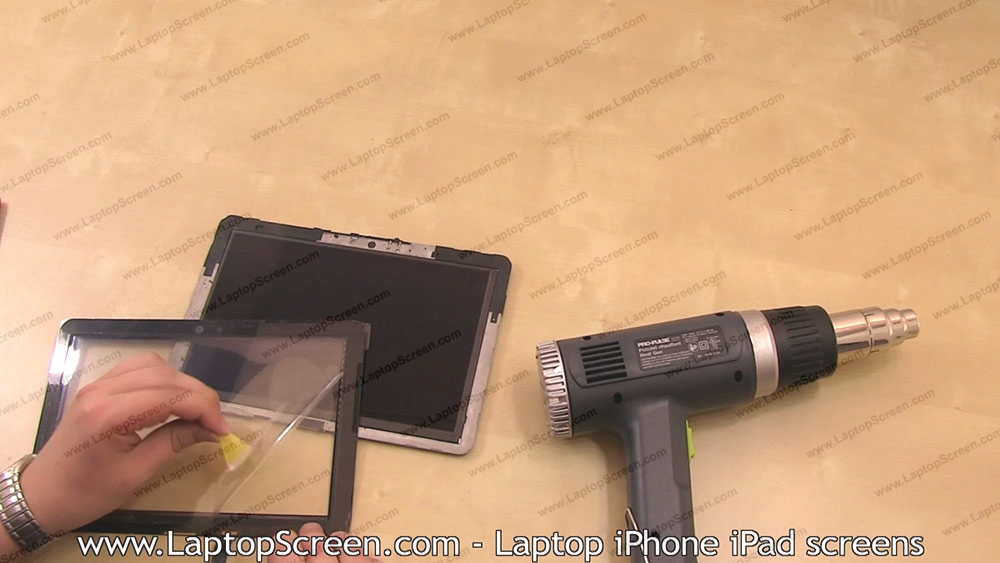
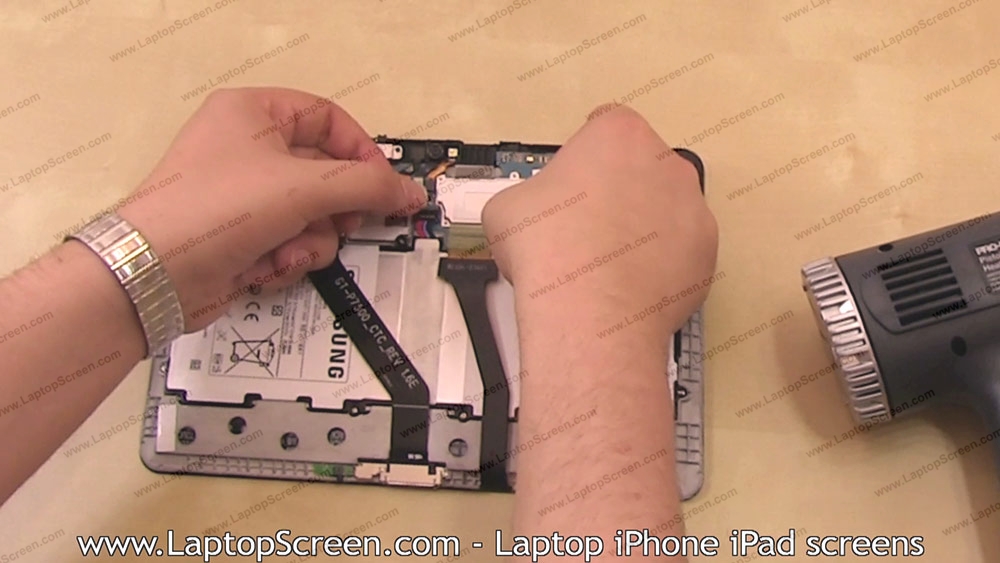
9. Now that the connectors have been separated, we can go ahead and start removing the digitizer. The glass digitizer is glued in place, so a heat gun will be needed in order to warm up the glue around the perimeter. Start working a heat gun around the perimeter of the glass digitizer, while taking care not to leave the heat gun in one position for too long. Keep the heat gun at an even distance from the glass digitizer, approximately 1 to 2 inches away. This process should take about 1 minute, so that the glue is sufficiently warmed up.
10. Now that the glue around the perimeter is warmed up, use a putty knife to separate the glass digitizer from the LCD screen. Begin with the left bottom edge, by placing the putty knife under the glass. Only insert the putty knife as far as the black border on the digitizer, so as not to cause damage to the LCD screen underneath. The glue should separate fairly easily, but if the putty knife is getting stuck or is difficult to move along the perimeter, apply more heat from the heat gun to further warm up the glue.
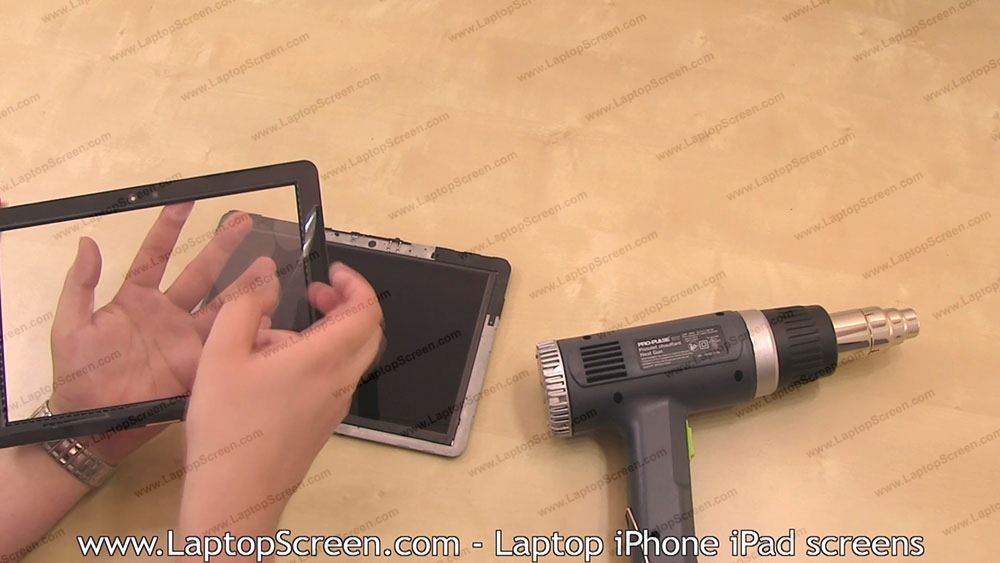
11. Continue separating the glass digitizer from the LCD screen, by moving the putty knife along the perimeter.
12. Take care around the broken glass–it is quite sharp, and it is best to try to keep it all in one piece, if possible.

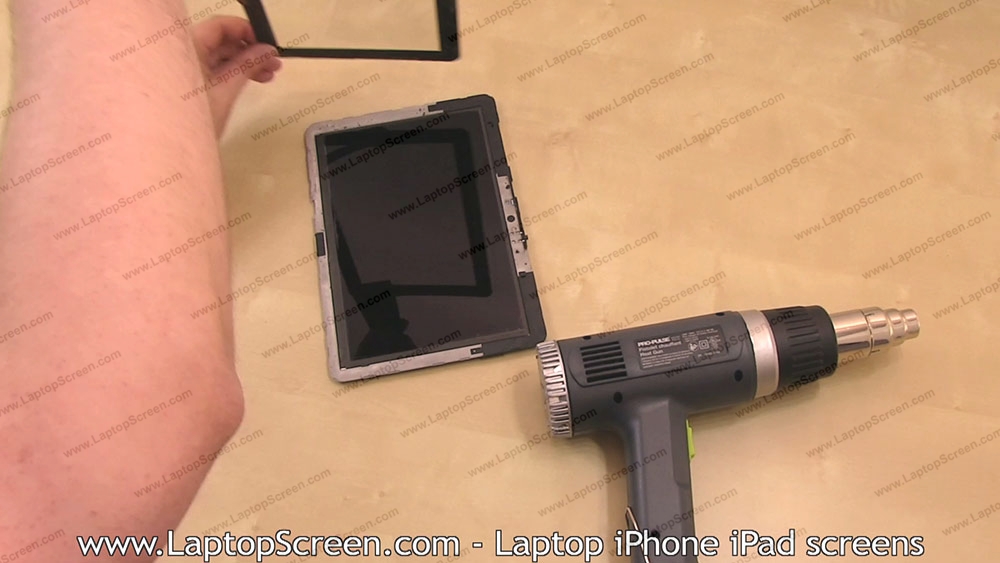
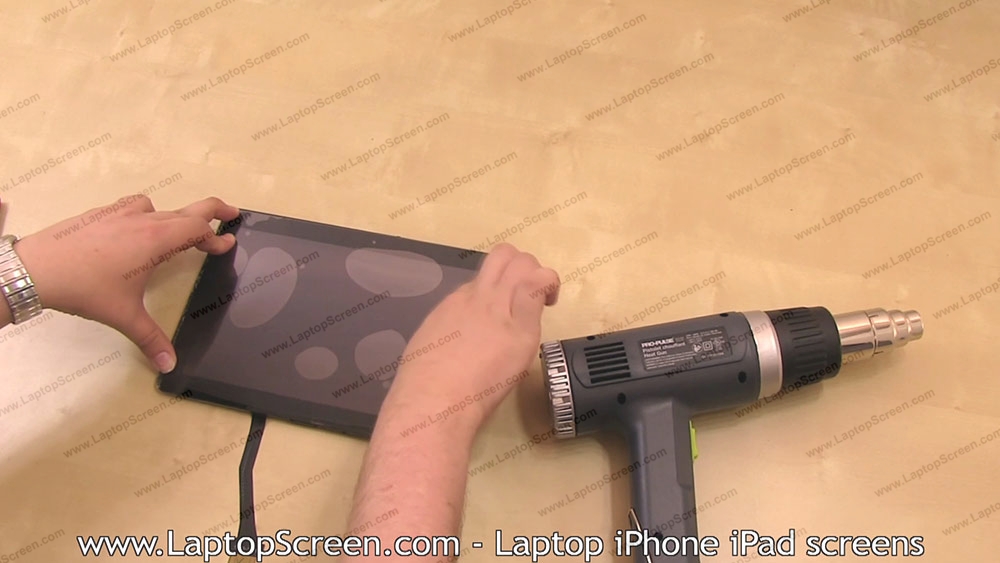
13. Once 3 edges of the touchscreen have been separated, use your fingers to gently pry up the glass.

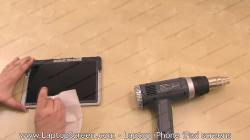
15. Before replacing the old digitizer with a new one, it is important to clean the LCD screen of any dirt, fingerprints, or dust. Use a lint-free cloth or good paper towel to gently wipe away any grime.

16. Now that the LCD screen has been properly cleaned, the new touchscreen can be installed. There are a few things that need to be done to ensure the new digitizer is ready for installation. First, bend out the digitizer's cable so that it hangs outward.


19. The glass digitizer can now be placed on the LCD screen. Take special care to properly align the digitizer panel at the bottom corners and both sides with the bottom edge.

20. Once properly aligned, press down the glass digitizer on top of the LCD screen, squeezing down the edges.


23. After you've re-connected the battery connector, check to make sure no other connectors need to be re-connected. During the disassembly process, connectors may become disconnected.


25. The back cover can now be replaced next. Place in the glass digitizer panel on to the back cover.

