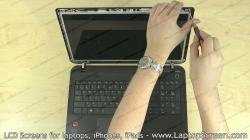
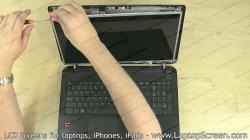
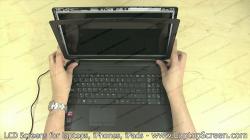
Proceed on removing the bezel, in certain cases it is held down with 2 or 4 screws in each corner that can be hidden behind either plastic or rubber covers; in this case there are no bezel screws.
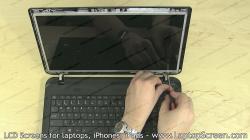
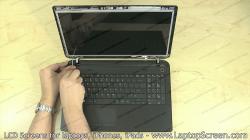
Loosen 2, sometimes 3 screws on each side where the LCD mounting bracket is attached to the hinge to expose the LCD mounting screws.
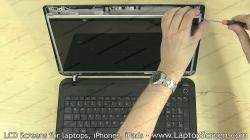
Peel the clear tape securing the video cable. Gently disconnect the video cable. Discard the old panel.

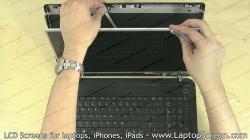
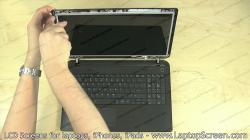
Place the new LCD panel face down on the keyboard. Reconnect the video cable and secure it with clear tape.
CAUTION! It is very important not to force any connectors. All connectors are very fragile. You must not slant the video connector when plugging it in.


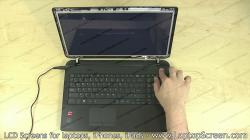
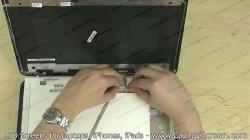
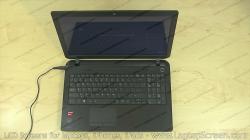
At this point we can test the new screen. Reconnect the power cable, turn the laptop on, and if the start graphics appear - the screen is installed correctly.
Hold the power button to cancel the boot up.